 AI
AIObjective: Create a workflow to automate document signing.
Español
English
Português
Steps:
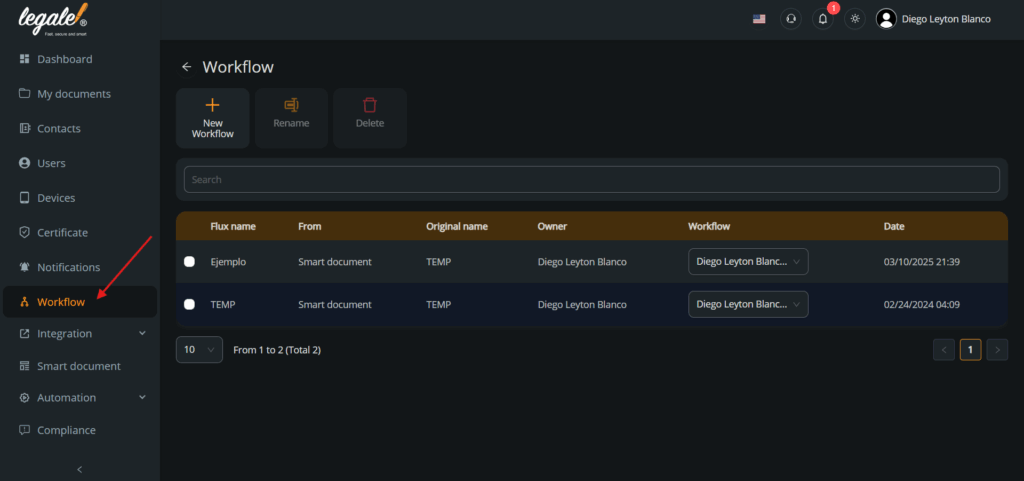
1. Access the Workflow module
From the left side menu, click on Workflow to manage existing signature flows or create a new one.
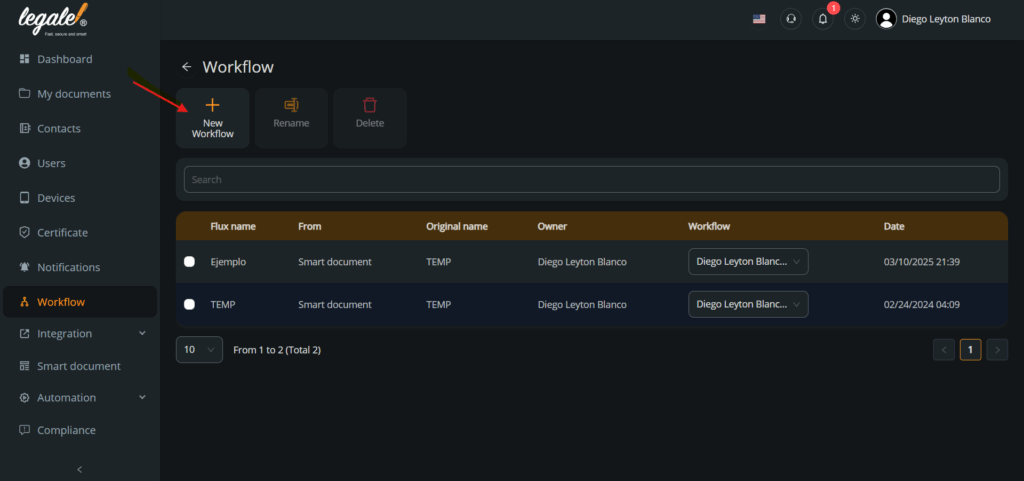
2. Click New Workflow
Press the New Workflow button to start setting up a new signature workflow.
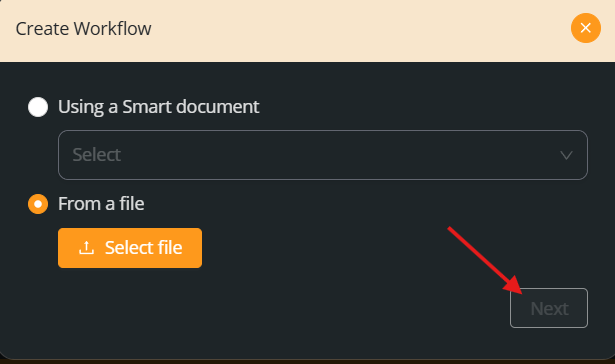
3. Select the document source
You can either use an existing Smart Document or upload a file from your device. In this example, we choose From a file, then click Select file and Next.
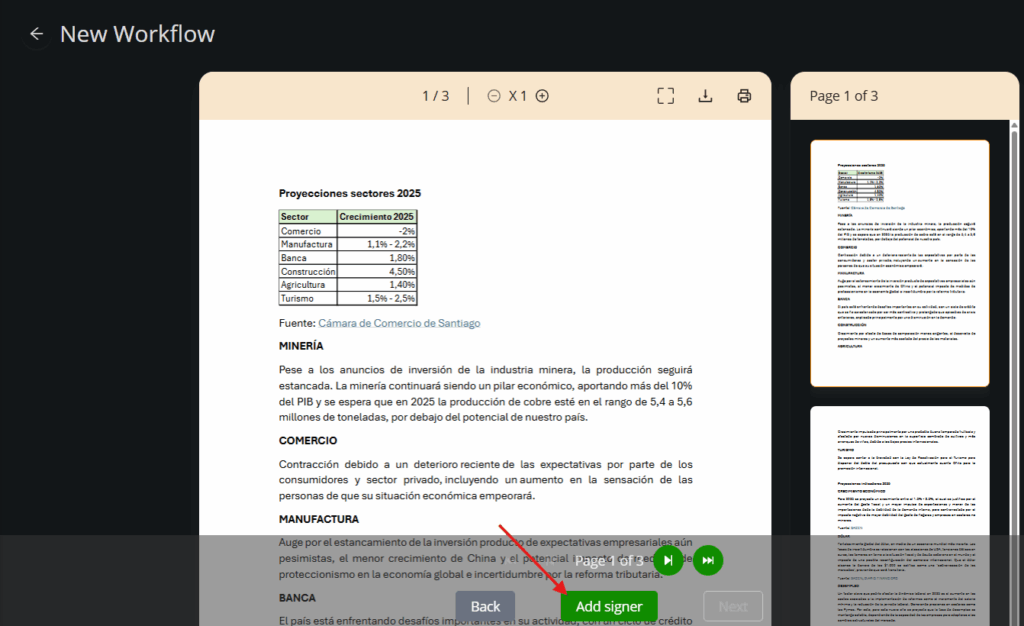
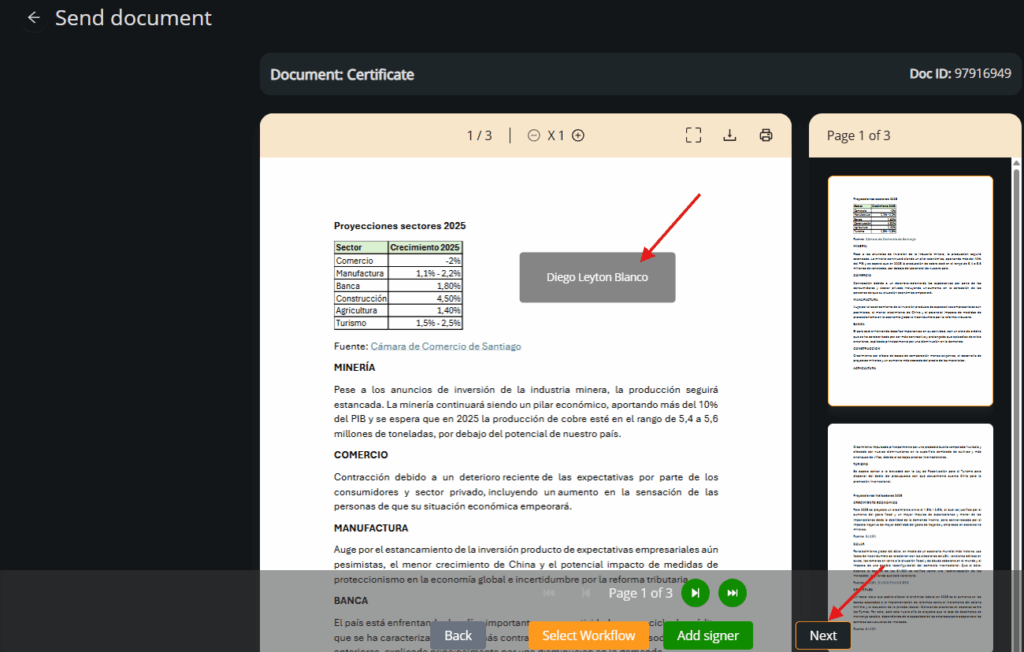
4. Add a signer
Once the document is loaded, the viewer will open. Click Add signer to configure the signer details.
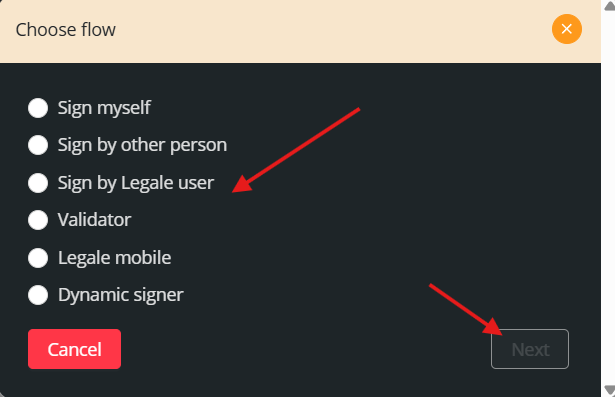
5. Choose the type of signer
The following options will appear:
Sign myself
Sign by other person
Sign by Legale user
Validator
Legale mobile
Dynamic signer
Select the one that fits your use case.
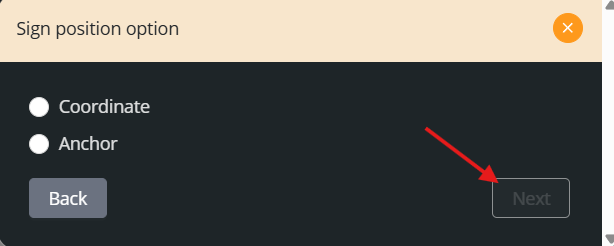
6. Define the signature position type
Choose between:
Coordinate: manually place the signature
Anchor: automatically place it based on keywords in the document
7. Place the signature field in the document
Drag the signature field to the exact spot where the user should sign.
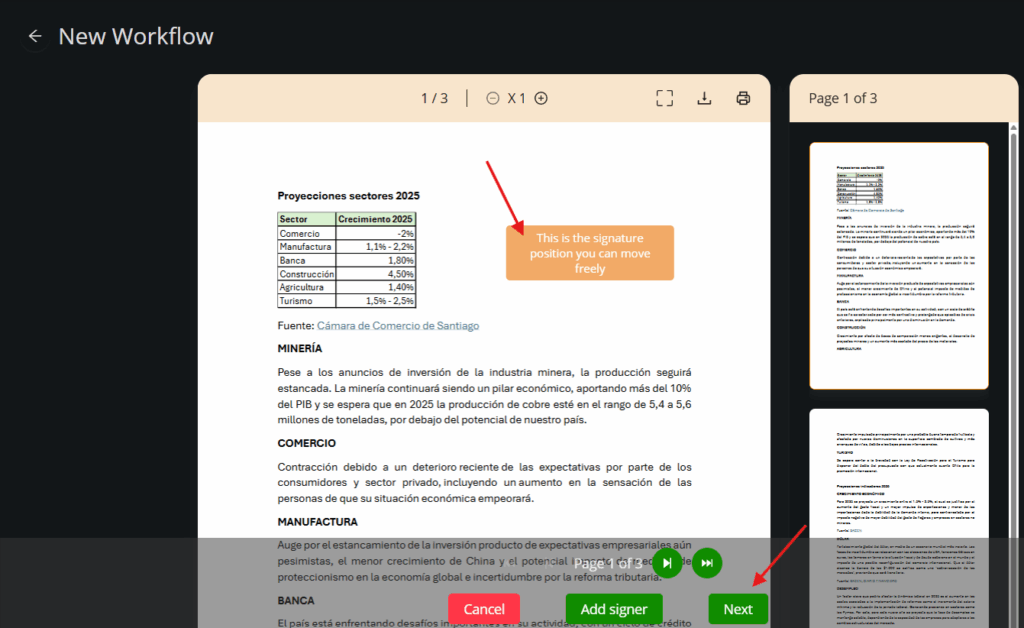
8. Confirm and preview the assigned signer
You’ll see the signer’s name or a tag displayed. Click Next to continue.
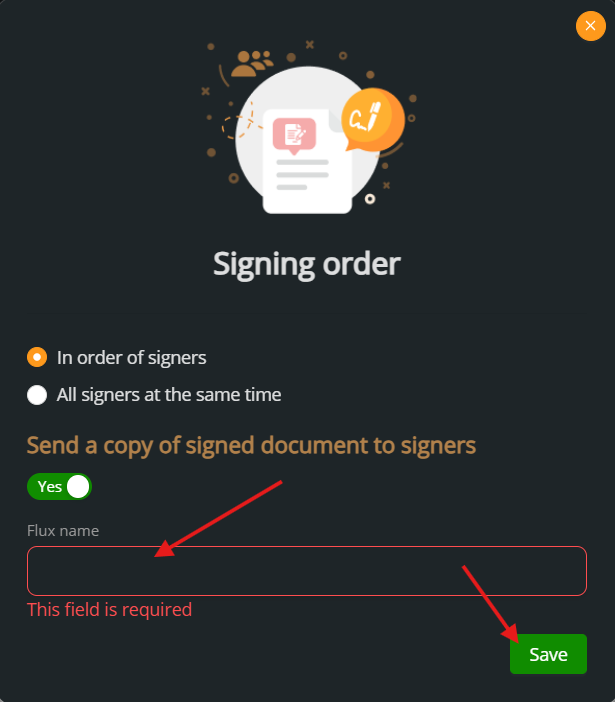
9. Configure the signing flow
Set the Flux name, decide whether signers should sign in order or at the same time, and enable the option to send a signed copy.
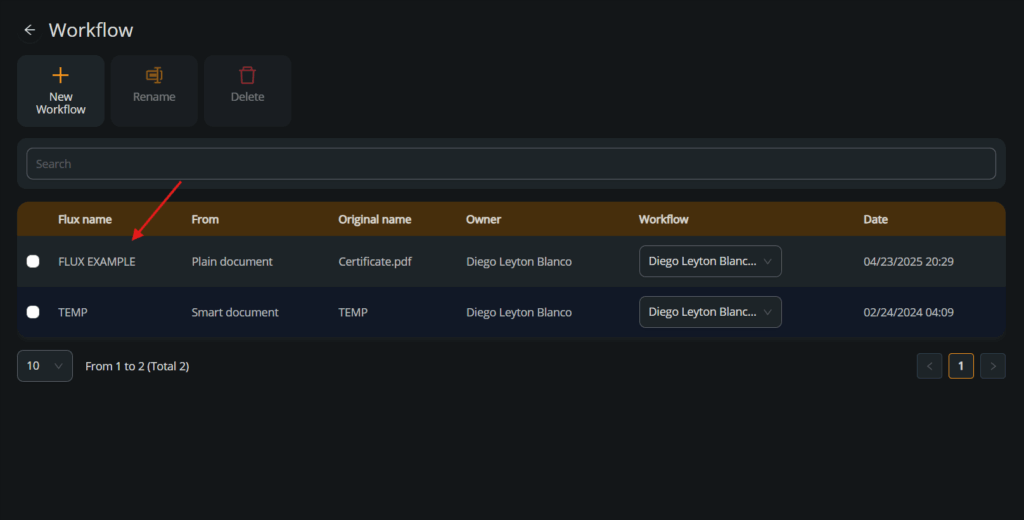
10. Confirm the workflow creation
After saving, the new workflow will appear in the list showing its name, origin, and creation date.
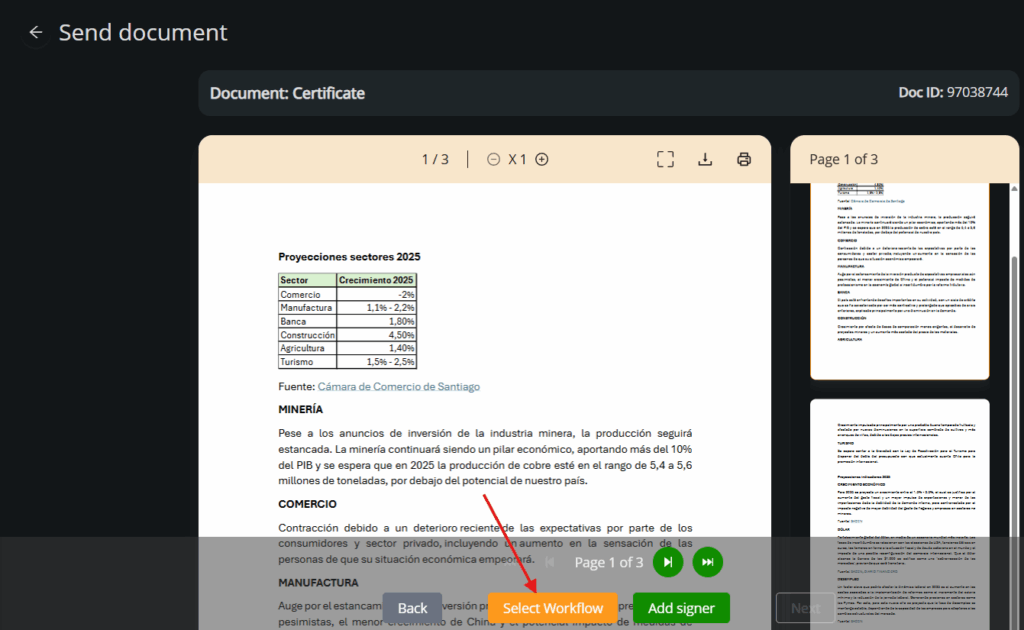
11. Click “Select Workflow”
Following Capsule 2, we choose the document and Create and Prepare the Workflow.
Once the document is uploaded, click the Select Workflow button at the bottom.
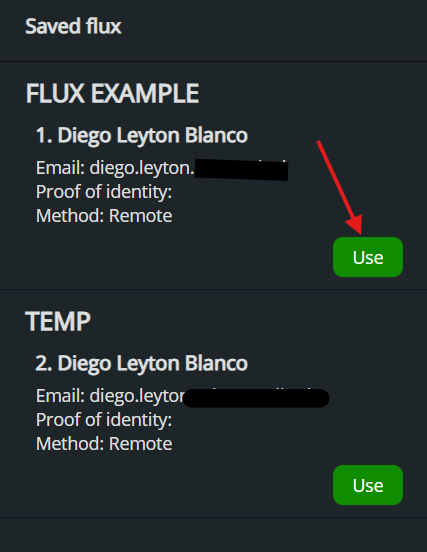
12. Choose a saved flow
A list of previously saved flows will appear. Click Use on the one you want to apply.