Activating and deactivating menu options #
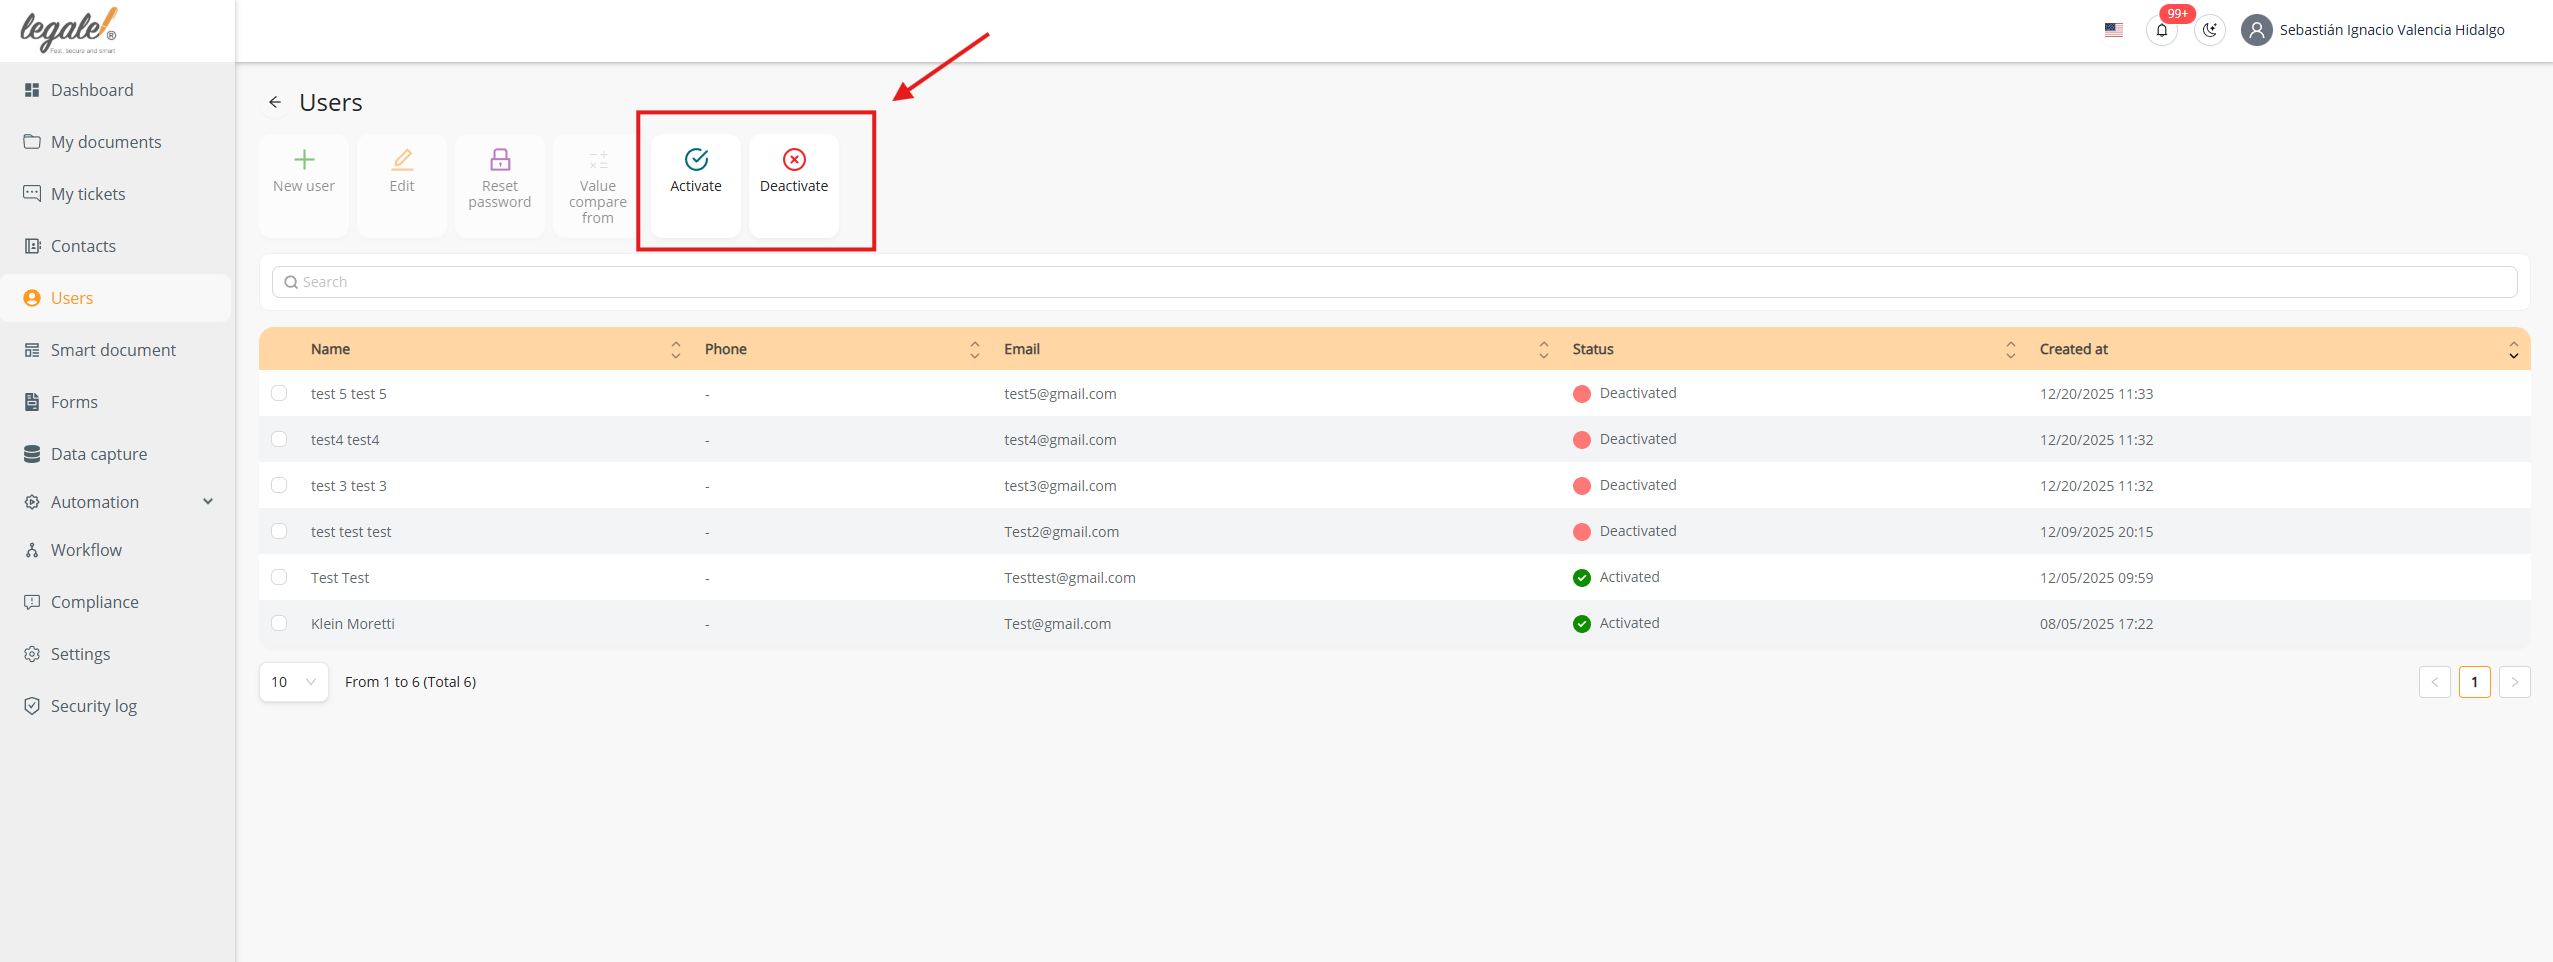
In the Users section, the platform displays two specific buttons in the top action bar: Activate and Deactivate.
These options allow administrators to quickly enable or disable platform access for selected users. To use these actions, a user must first be selected from the table, and then the desired option can be clicked.
Viewing activated and deactivated users #
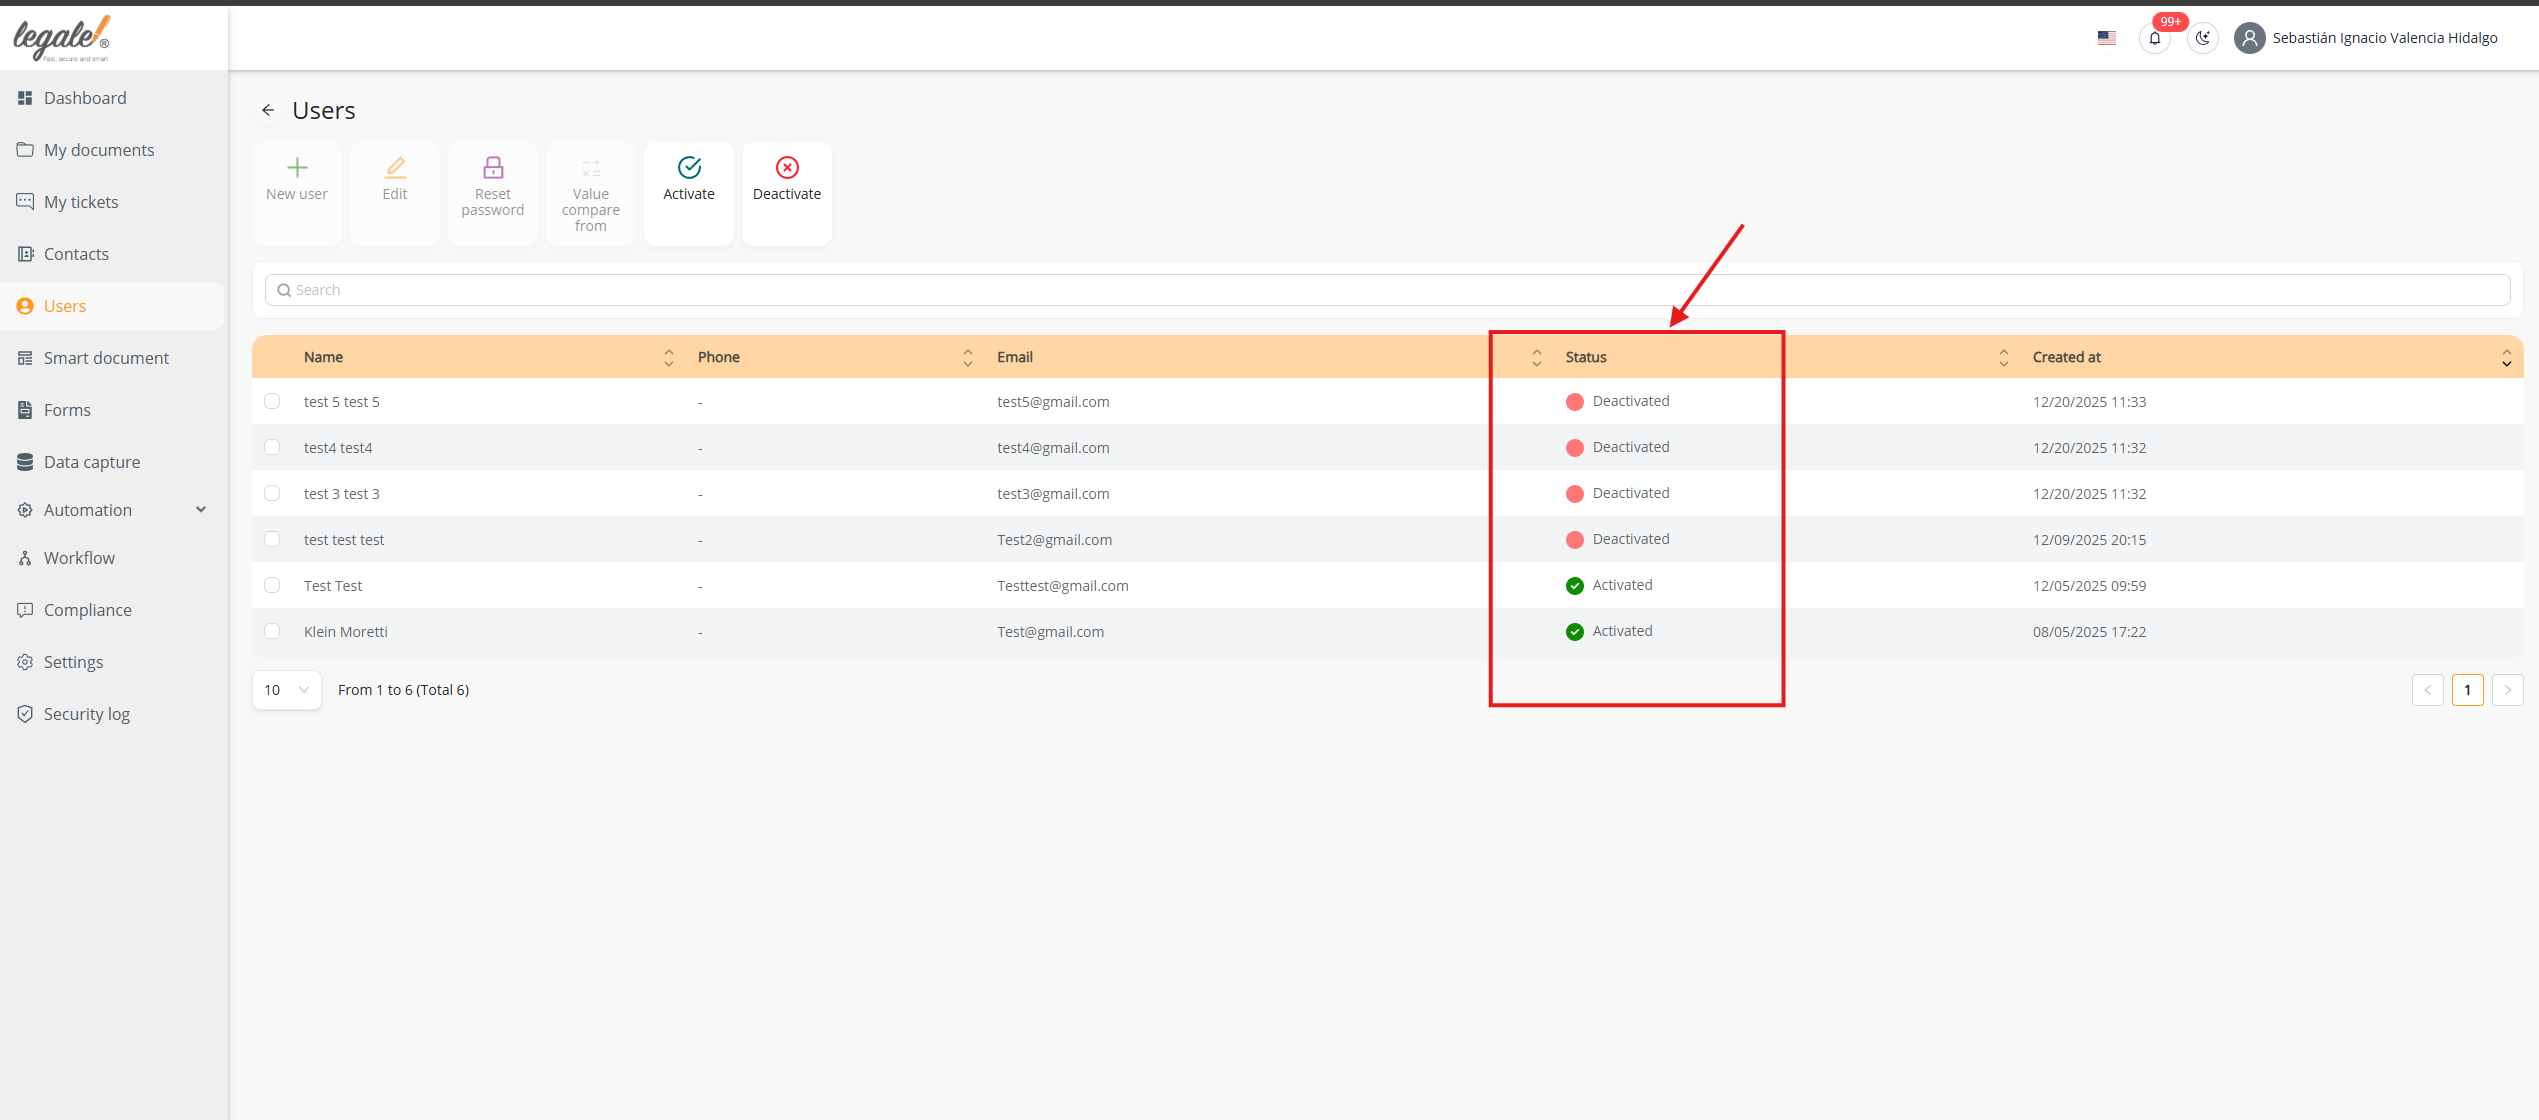
The user list includes a Status column showing whether each account is Activated or Deactivated.
Green icons indicate active users, while red icons indicate deactivated users. This visual status helps administrators easily identify which users currently have access to the platform.
Activating a user confirmation #
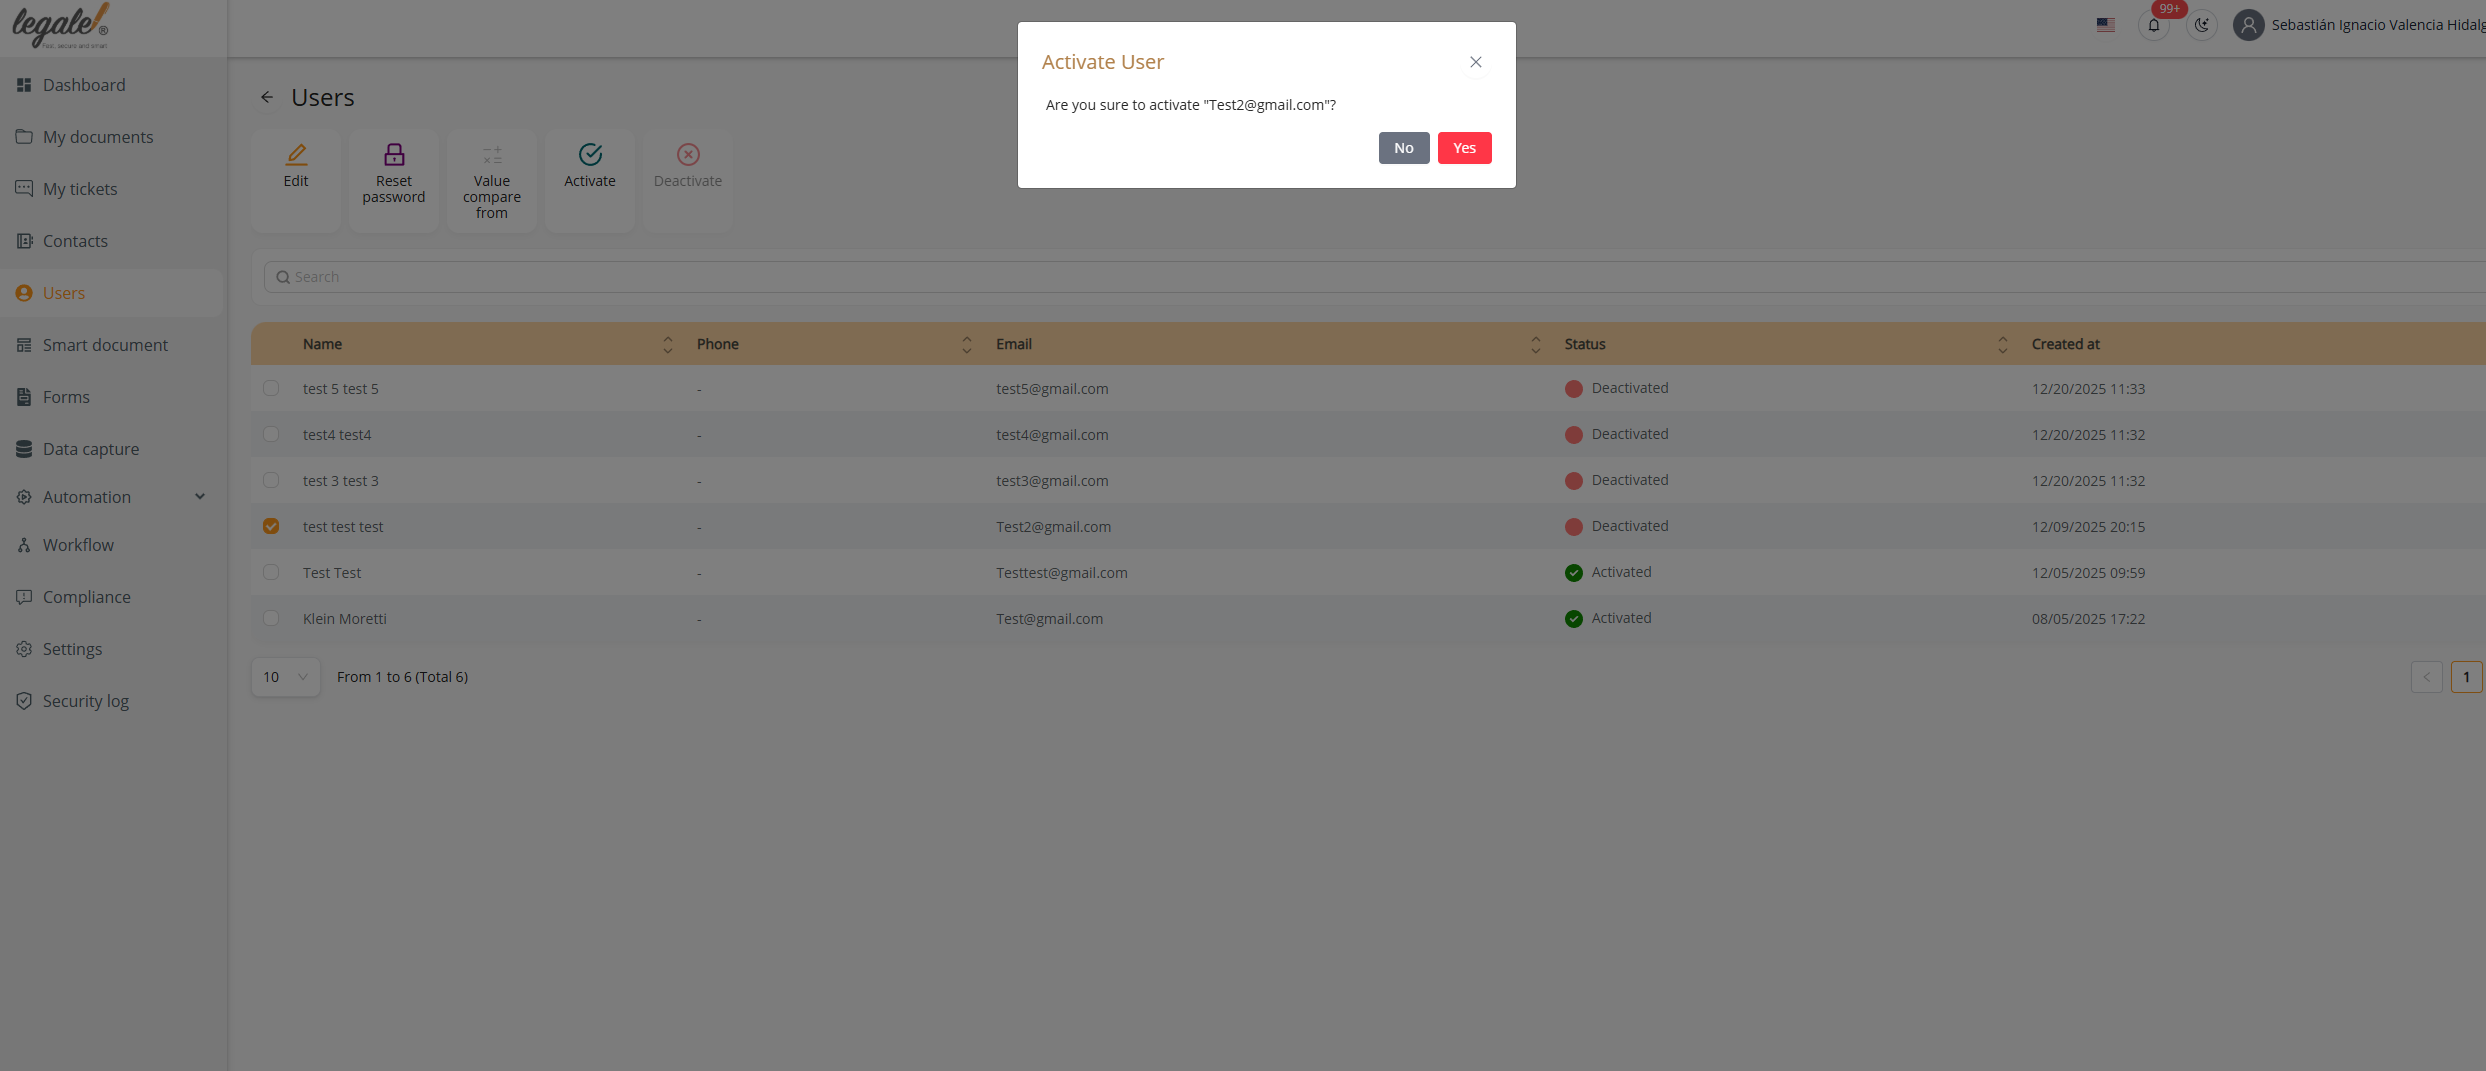
When the administrator selects a deactivated user and clicks Activate, a confirmation window appears.
This popup asks the administrator to confirm whether they are sure they want to activate the selected account. The action is completed by pressing Yes, or canceled with No.
Deactivating a user confirmation #
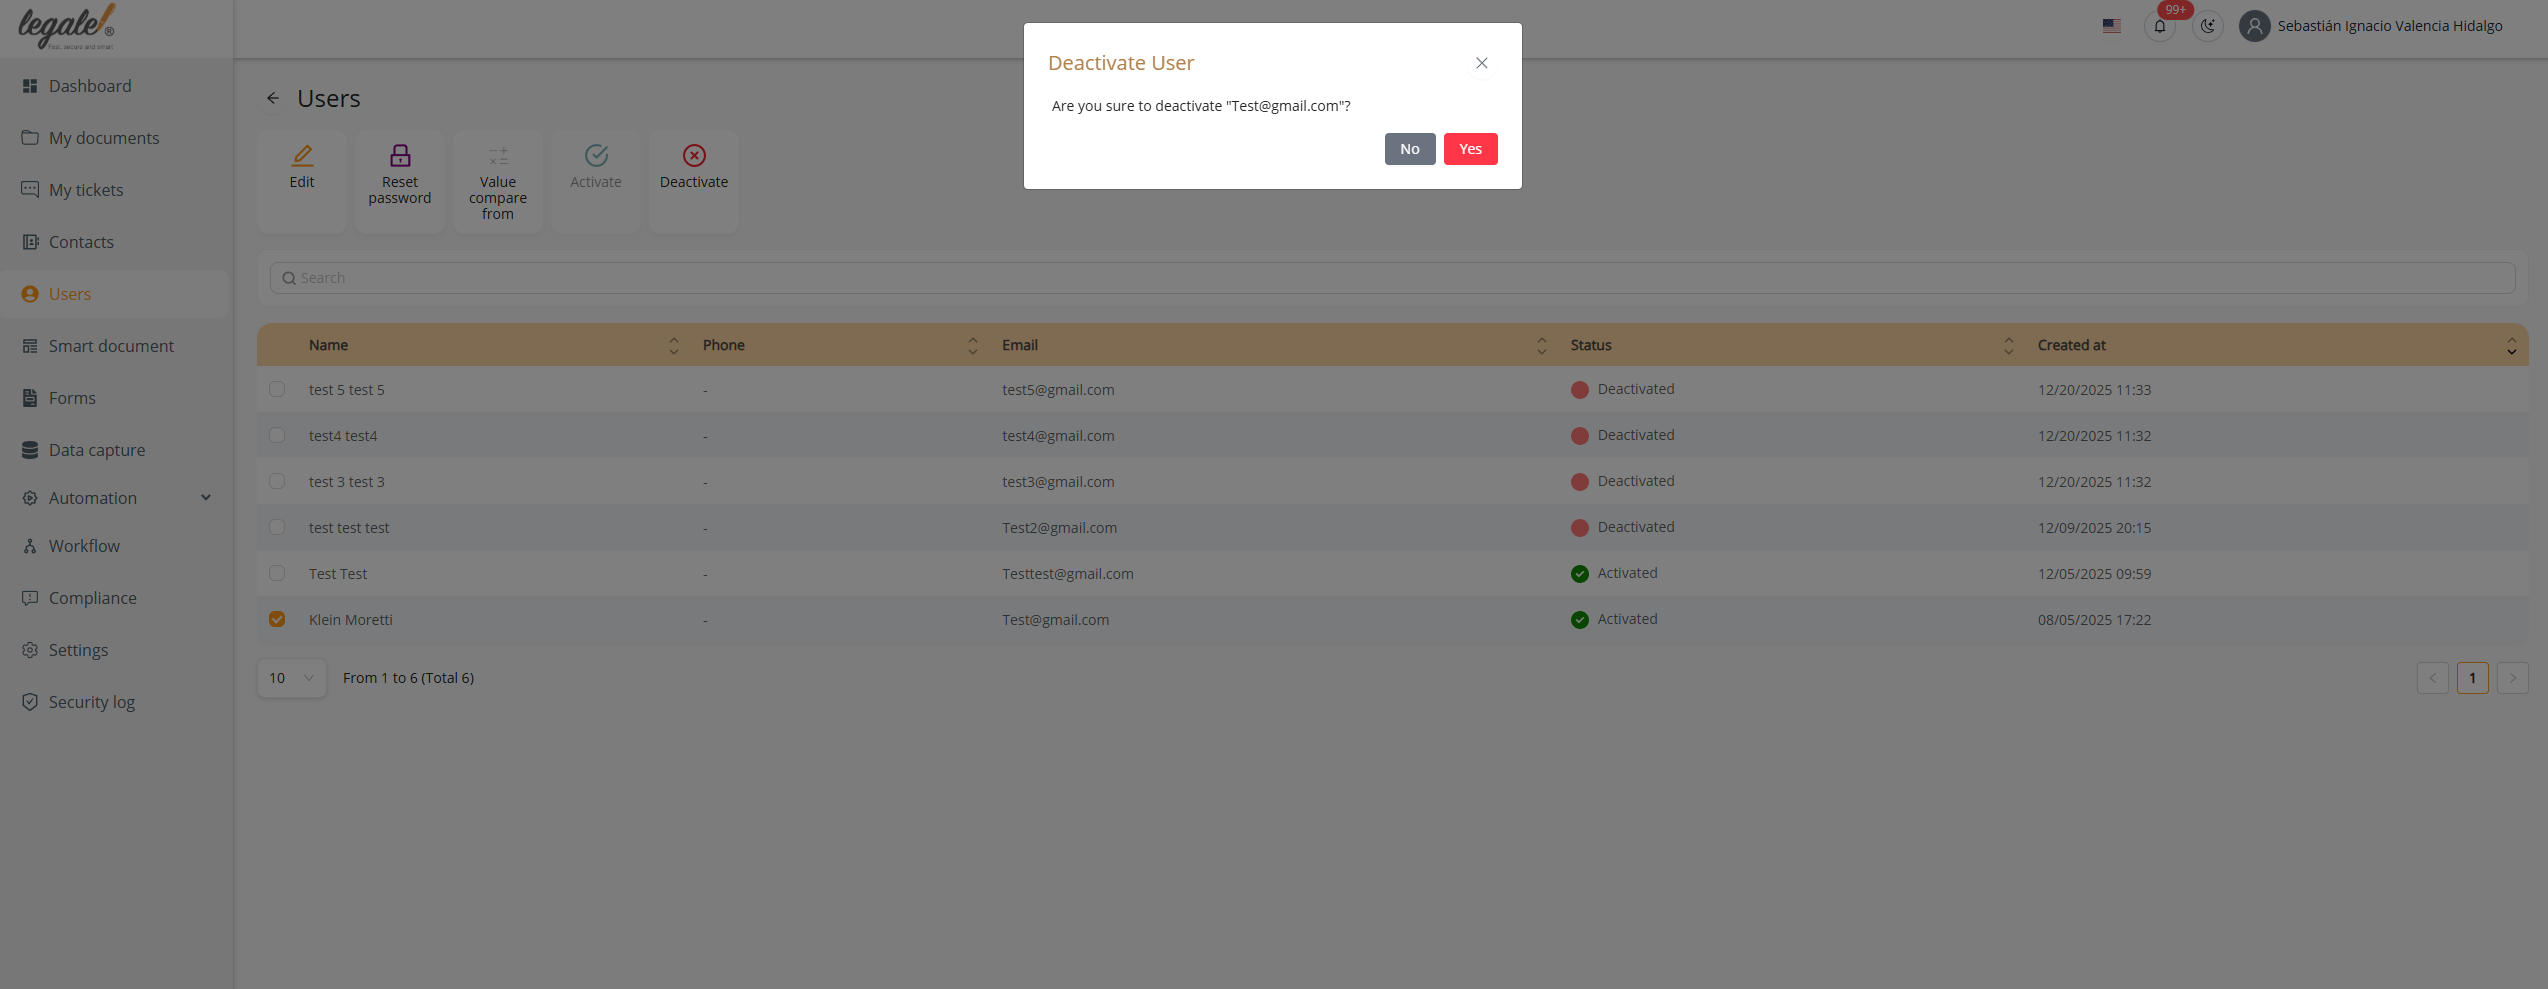
Similarly, when an active user is selected and the Deactivate button is clicked, a confirmation dialog is displayed.
The platform again asks for confirmation to prevent accidental deactivation. The administrator must confirm the action by clicking Yes, or cancel it with No.


