Creating a workflow for Smart Document signing #
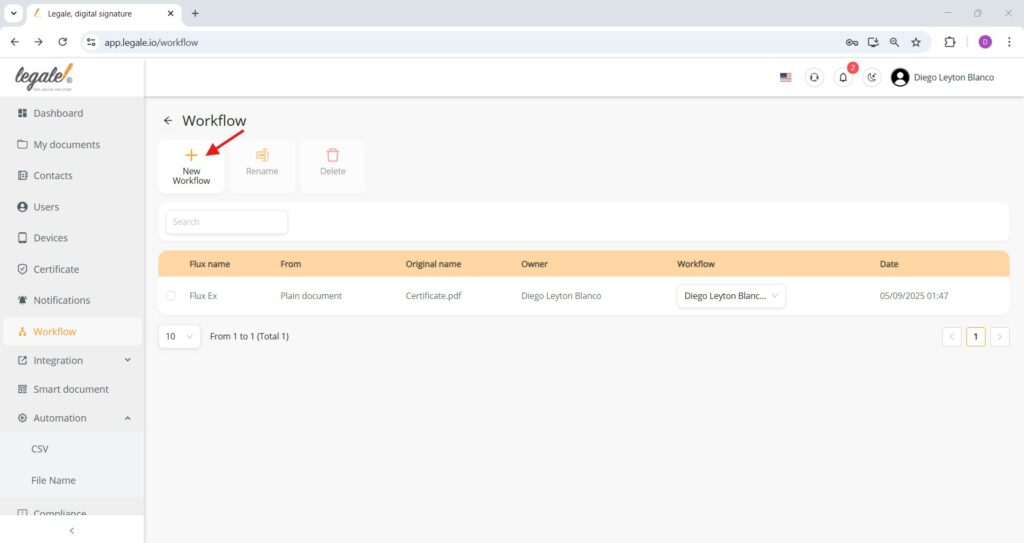
To initiate a workflow for signing a Smart Document, go to the Workflow section and click on New Workflow. This begins the setup process for automating actions such as document routing and digital signature collection.
Selecting the Smart Document for the workflow #
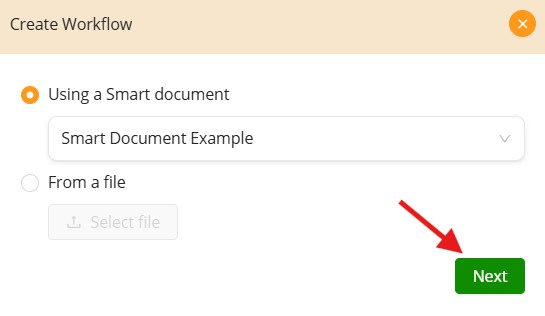
In the workflow creation process, choose the option Using a Smart document and select the desired template—here, “Smart Document Example”—from the dropdown list. Confirm the selection by clicking Next to proceed with defining the signing flow.
Assigning type of signature to the Smart Document #
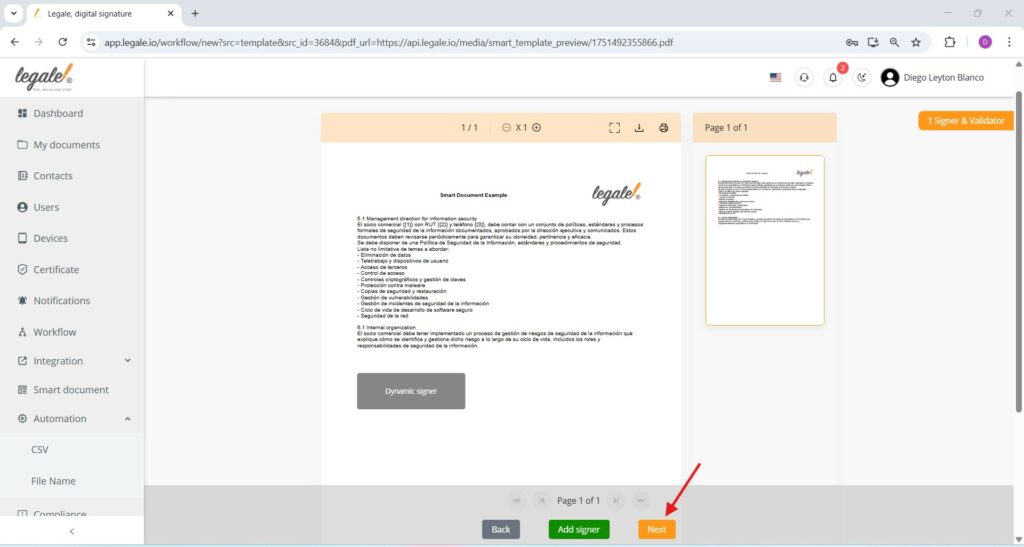
After selecting the Smart Document, a preview of the template is shown. Click Add signer at the bottom of the page to begin assigning recipients who will sign the document within the defined workflow.

Selecting the signing method #
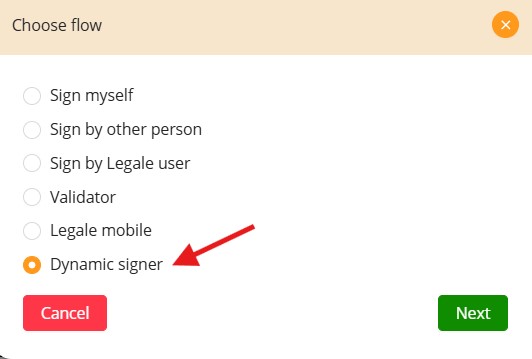
When prompted to choose a signing flow, the “Dynamic signer” option is selected. This allows the signer to be defined dynamically at the time of sending or through document variables, providing flexibility for workflows with varying recipients. Press Next to continue setting up the signer.
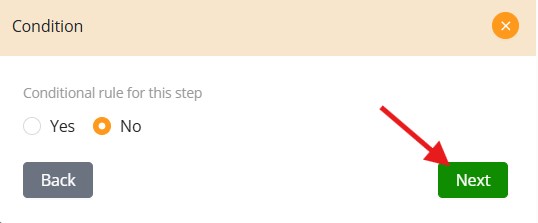
Setting step conditions #
This step allows you to define whether the signing step should be conditional. Selecting “No” means the step will always be executed, regardless of document data or workflow conditions. Click Next to proceed with configuring the signature.
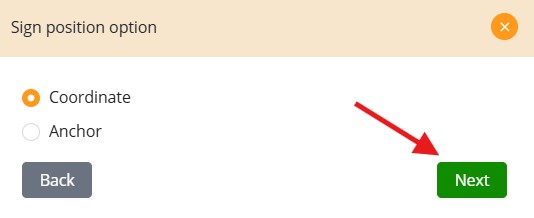
Choosing signature placement #
Select “Coordinate” to manually position the signature field by defining its exact location on the document or “Anchor” to position the signature box on a keyword within the document. This option allows precise control over where the signer’s signature will appear. Click Next to continue with the signature configuration.
Finalizing signature placement #
After positioning the dynamic signer field on the document, proceed by clicking the Next button to continue setting up the workflow for document execution.
Final workflow confirmation #
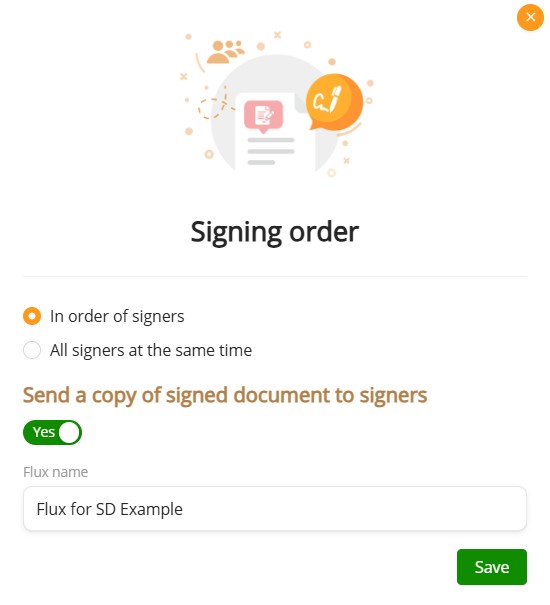
In the final step of the workflow creation for signing a Smart Document:
-
Signing order: Select either “In order of signers” (sequential signing) or “All signers at the same time” depending on the signing flow you require.
-
Send a copy: Toggle “Yes” to automatically send a copy of the signed document to each signer upon completion.
-
Flux name: Provide a name for the workflow — in this case, it’s titled “Flux for SD Example”.
Click Save to complete and activate the workflow. Your Smart Document is now ready to be signed through the defined process.
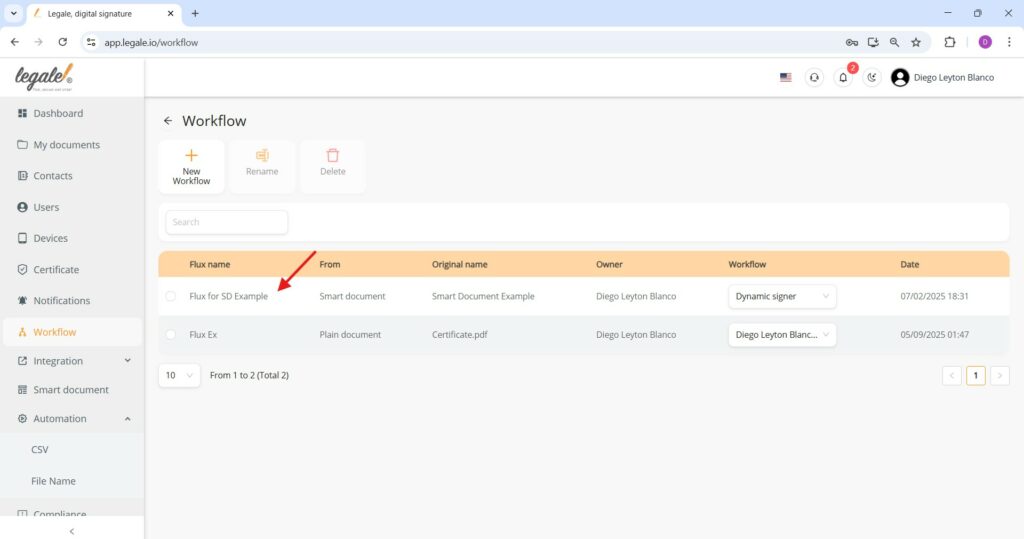
Workflow summary screen #
Once saved, the newly created workflow is listed under the “Workflow” section with its assigned name — in this case, Flux for SD Example. The entry shows that it originates from a Smart Document titled “Smart Document Example,” is owned by Diego Leyton Blanco, and utilizes the Dynamic signer method. The setup timestamp is also recorded, confirming successful creation and readiness for execution.