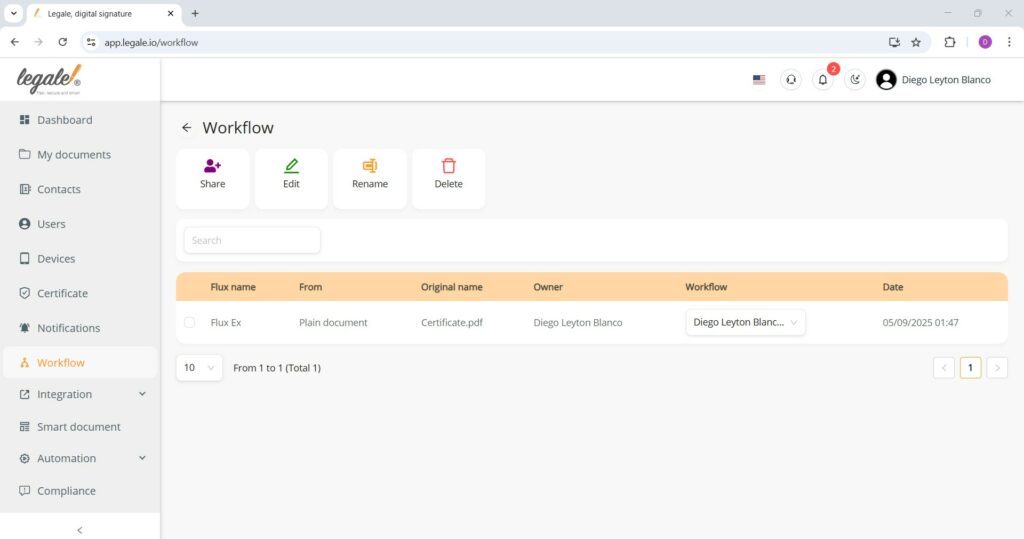
Edit a workflow #
To modify an existing workflow, first select it from the list and then click the Edit button at the top of the screen. This allows you to adjust participants, steps, or rules previously configured.

Add signer to workflow #
While editing a workflow, you can include additional participants by selecting Add signer. Types of signer – legale.io
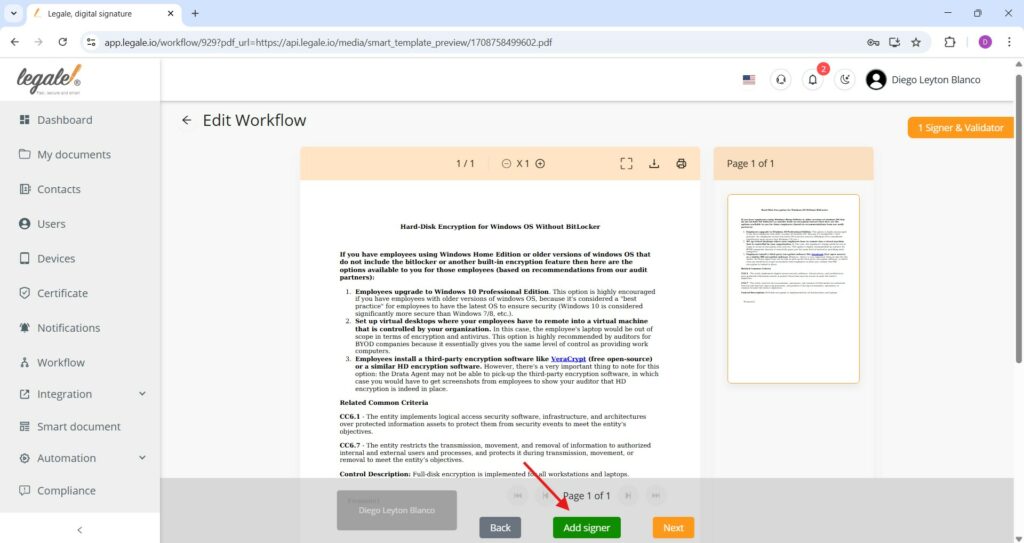
Proceed to workflow configuration #
Once you’ve added all necessary signers and validators, click Next to continue the workflow setup.

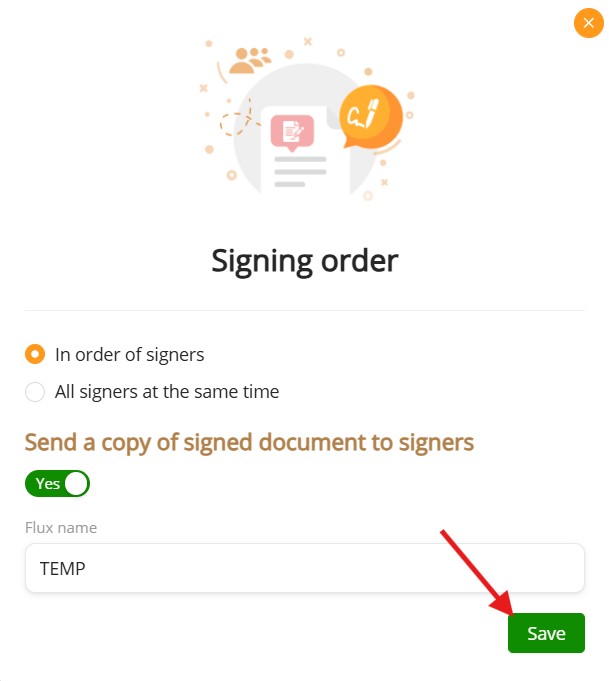
Define signing order #
In this step, configure how the document will be signed:
-
In order of signers: The document will be sent sequentially to each signer based on the order defined.
-
All signers at the same time: All signers will receive the document simultaneously.
You can also toggle “Send a copy of signed document to signers” to ensure each participant gets a final signed copy.
Click the green Save button to finalize the workflow setup.
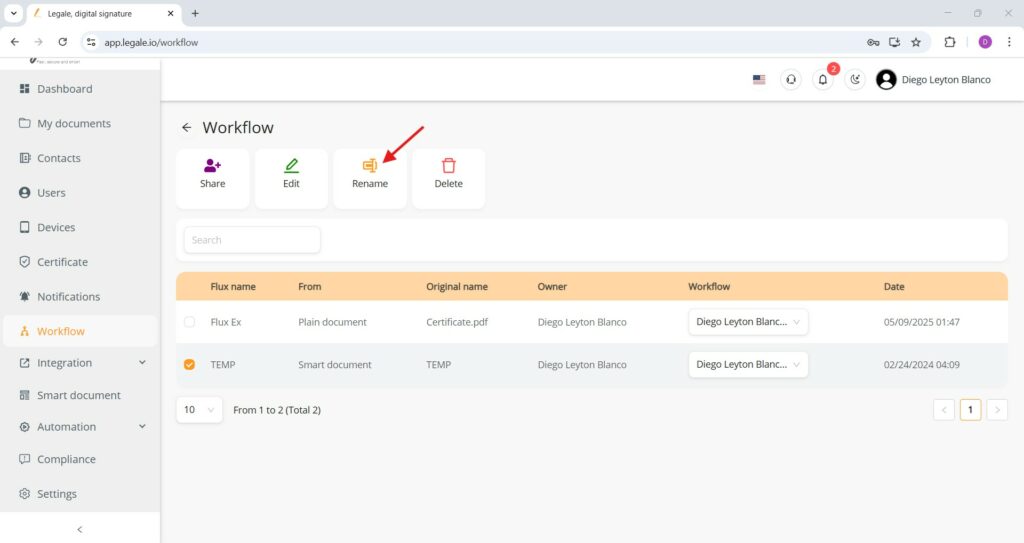
Rename a workflow #
To rename a workflow, first select the desired item from the list and click the “Rename” button located at the top of the screen.
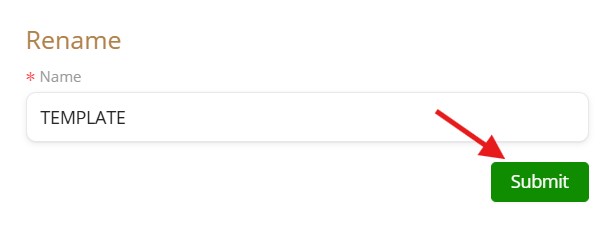
Choose the new name #
A text field will appear where you can enter the new name you want to assign. Type the updated name, such as “TEMPLATE”, to better reflect its purpose or content. Once you have entered the desired name, click the green “Submit” button to save the changes. The workflow will be immediately renamed within your workspace.
Renamed workflow display #
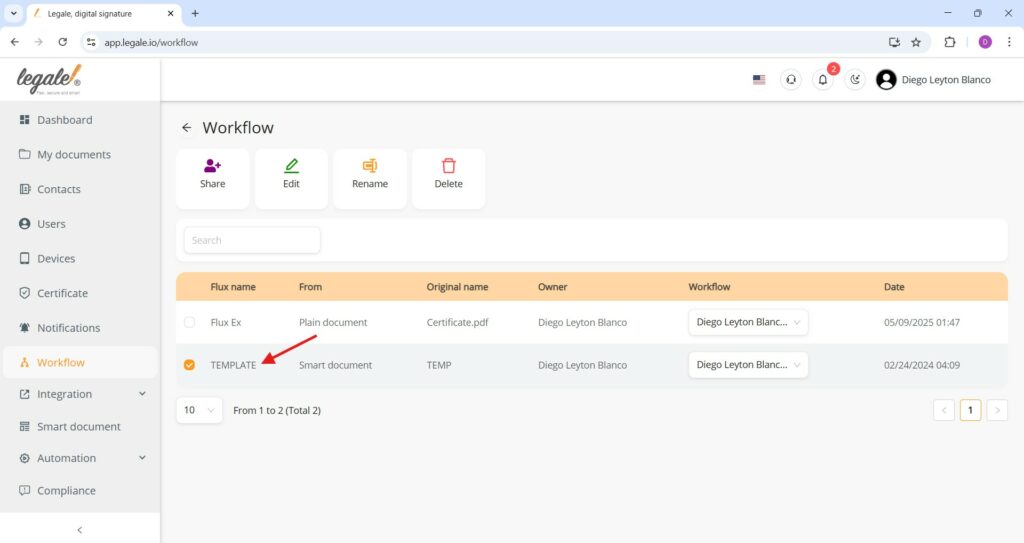
Once a workflow has been successfully renamed, the updated name is immediately visible in the list under the “Workflow” section of the platform. In the column labeled “Flux name”, you will now see the new name — for instance, “TEMPLATE” — replacing the previous one.
Delete a workflow #
To remove a workflow from your list, you must first select the workflow you want to delete by marking the checkbox next to its name. Once selected, click the “Delete” button located at the top right of the workflow actions panel, identified by a red trash bin icon. This action will permanently remove the workflow and all its associated configuration from your account, so it should be used with caution to avoid loss of important process data.

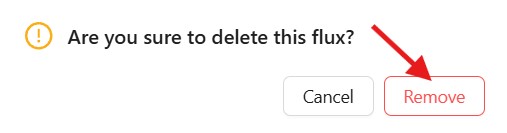
Confirm deletion of workflow #
After clicking the Delete button, a confirmation message will appear asking, “Are you sure to delete this flux?” To proceed, click the “Remove” button in red. This final confirmation ensures that workflows are not deleted by mistake. If you change your mind, click “Cancel” to abort the action.
Workflow deleted successfully #
Once the confirmation step is completed and the “Remove” button is clicked, the selected workflow is permanently deleted from the list. As shown in the updated interface, only the remaining workflows will be displayed. The previously visible “TEMP” workflow has now been removed, confirming the deletion was successful.