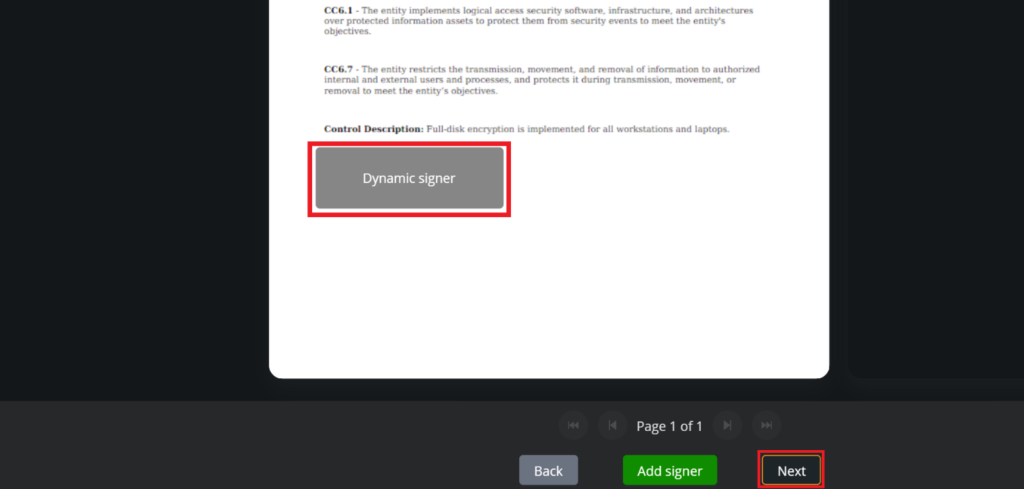
In this documentation, we’ll explore the different types of signer flows you can add to a document, giving you the flexibility to tailor the signing process to your specific needs.
Signatory flows are essential to manage the signing process efficiently and effectively. Setting up the right signer flows allows you to ensure that documents are sent to the right people in the right order, facilitating collaboration and compliance with established procedures.
Choose the signer flow: You have multiple options to choose to assign to your signer flow.
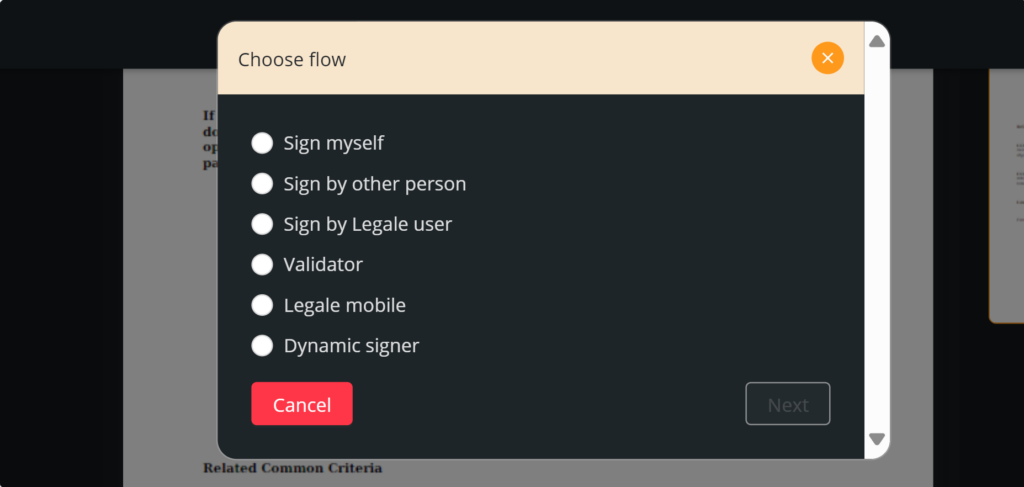
Sign myself #
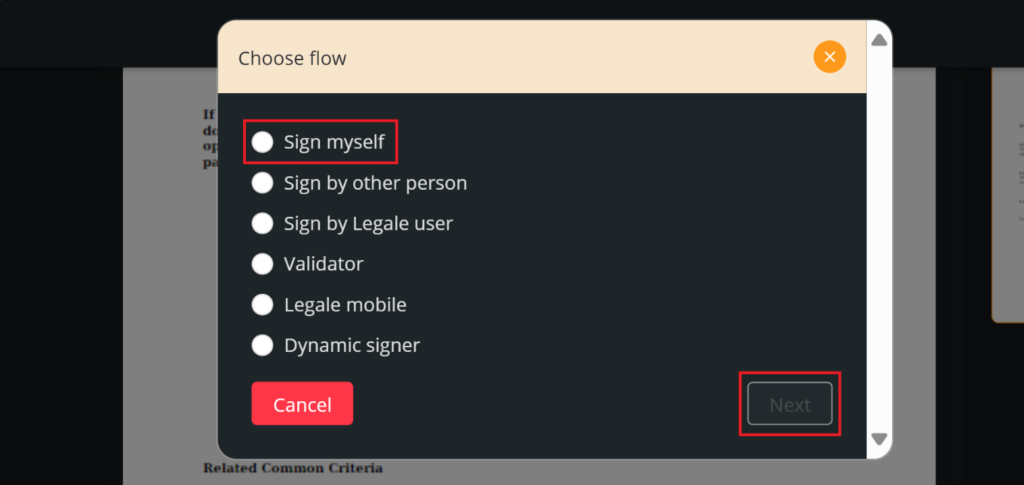
The first option is signing the file by your own. You can choose this option if you want to test the workflow and see if it’s going well.
Choose sign myself: Press “Sign myself” and then you must press “Next”.
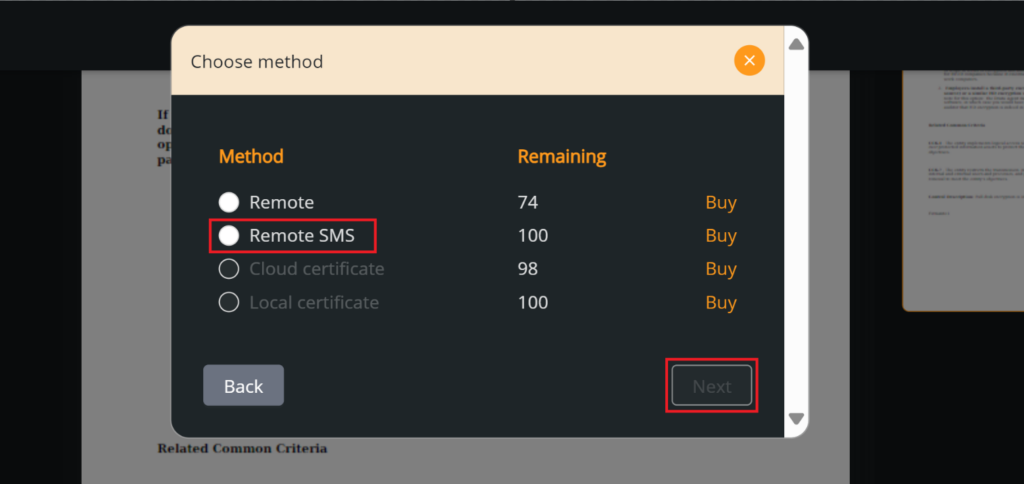
Choose method: For this flow, we can choose if we want to sign by “Remote” or “Remote SMS“. Both methods follow the same methodology.
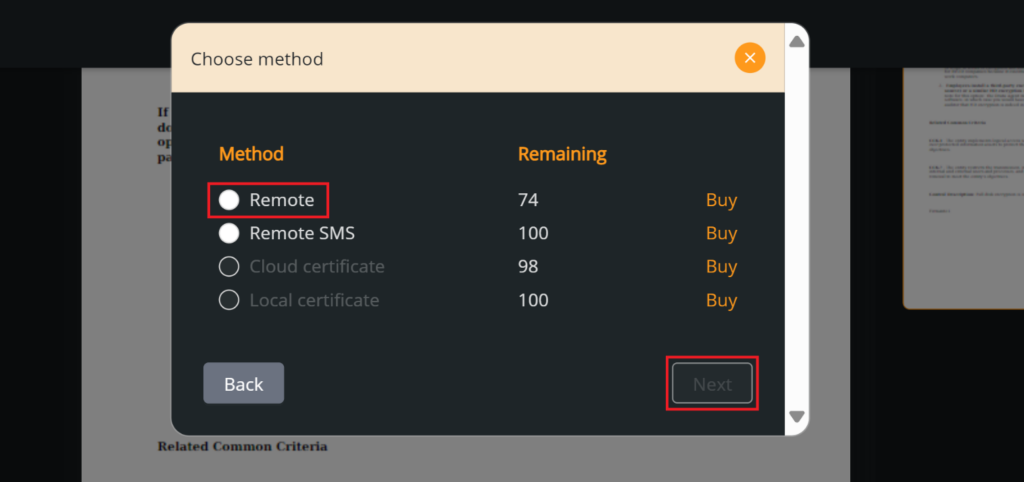
Confirm the decision: When you made you decision between the 2 options, you must press “Next“.
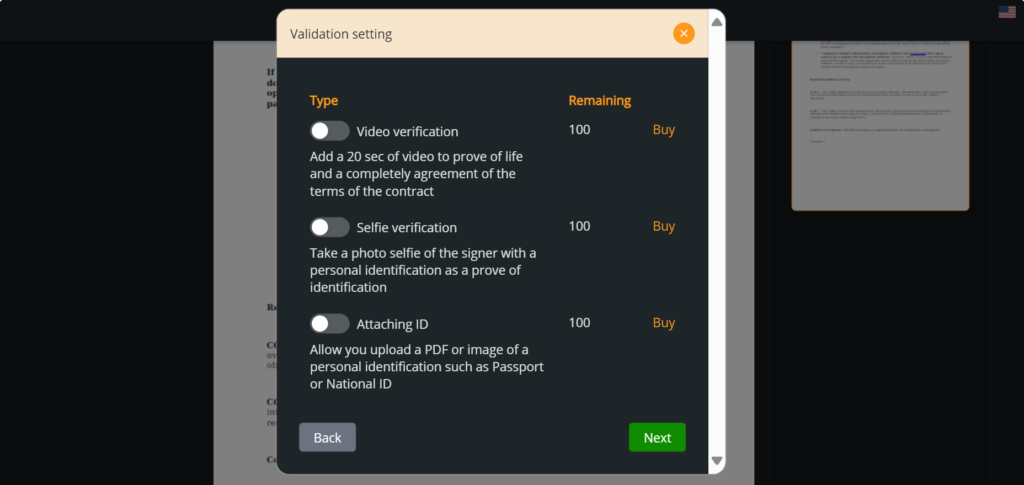
Validation setting: You can set if the signer needs to verify his identity. You can ask for a video verification, selfie verification or Attaching the ID the signer. Then, you must press “Next“.
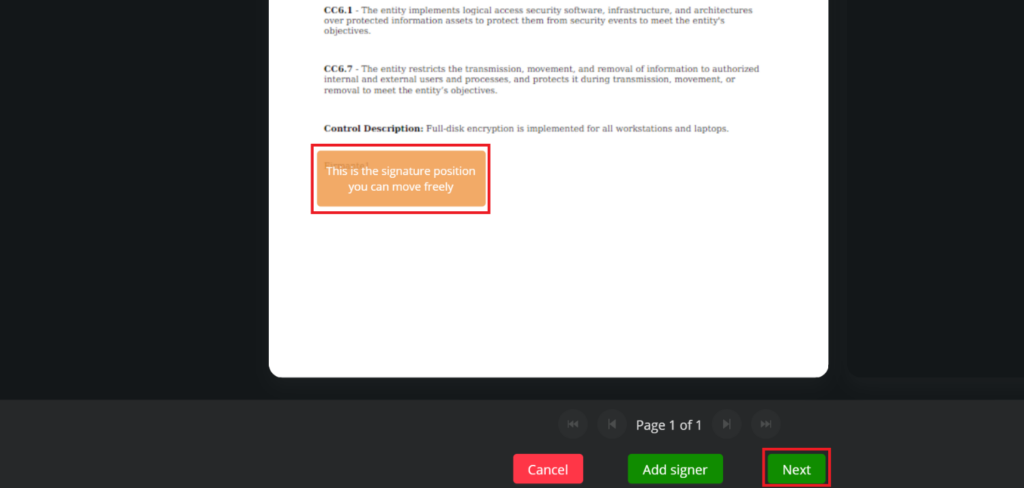
Adjust the signature box: Adjust the size and the location on the file of the orange signature box. Then, you must press “Next“.
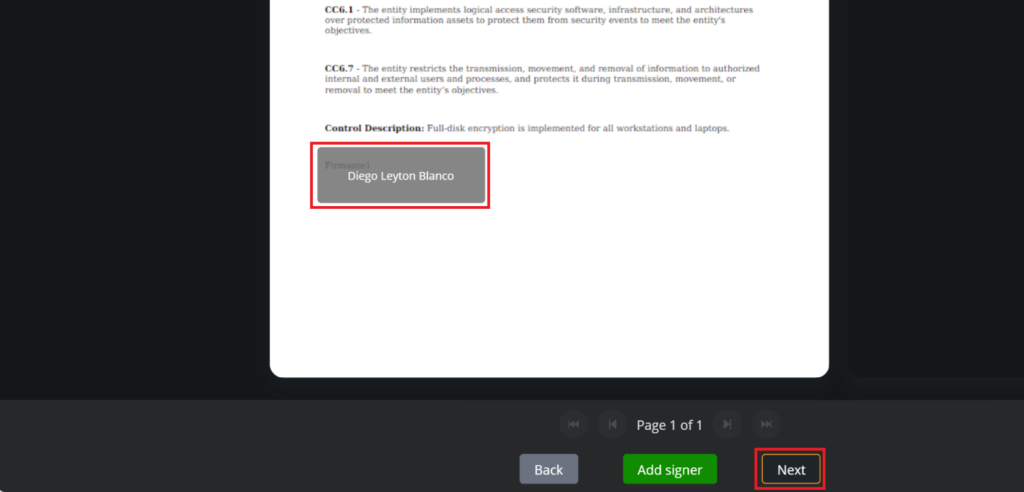
Confirm the decision: The signature box now is gray and has the name of the owner of the account. If you don’t want to add another signer, you must press “Next“.
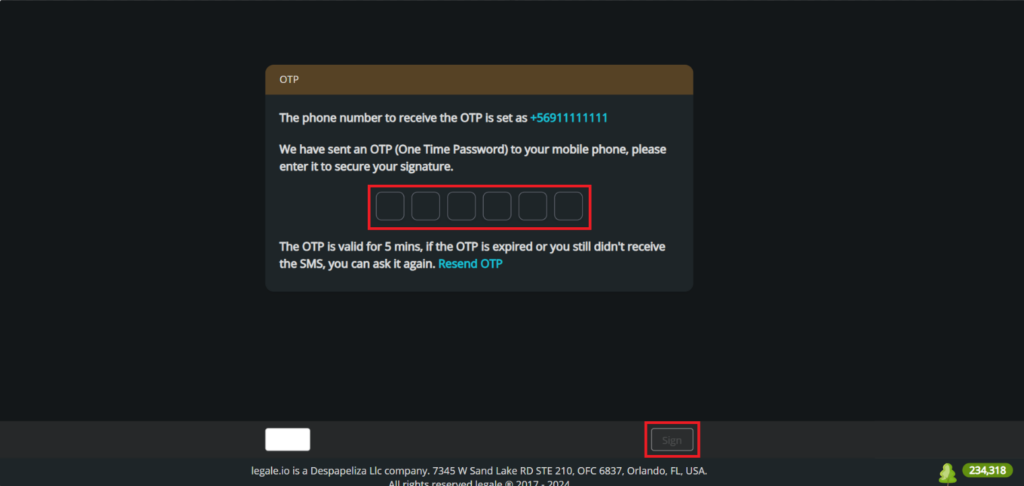
Difference between Remote and Remote SMS: After the signer chose the sign method, if you chose “Remote SMS” in the beginning, you will receive a OTP (One Time Password) on your mobile phone and you must enter the password and press “Sign“.
To set your mobile phone number, please see Setting up your country and phone number (E) – legale.io
Sign by other person: #
Instead of sign the file by yourself, you can set a workflow to send this file to a specific contact that we choose.
Choose sign by other person: Press “Sign by other person” and then you must press “Next”.
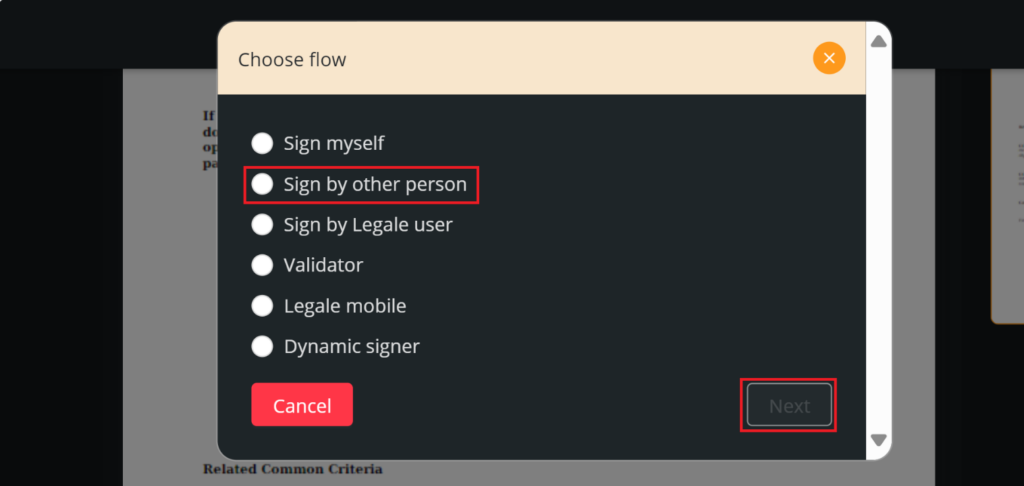
Choose method: For this flow, we can choose if the signer will have to sign by “Remote” or “Remote SMS“. Both methods follow the same methodology.

Confirm the decision: When you made you decision between the 2 options, you must press “Next“.

Validation setting: You can set if the signer needs to verify his identity. You can ask for a video verification, selfie verification or Attaching the ID the signer. Then, you must press “Next“.

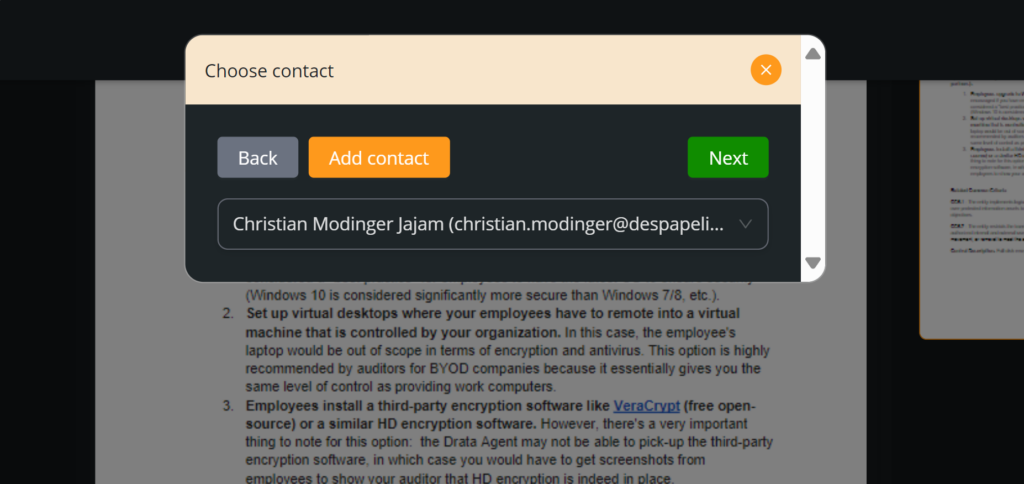
Choose contact: You must choose the contact that you want to sign the file. For this example, we will choose Christian.
To add a new contact, please see Adding a new contact – legale.io
Adjust the signature box: Adjust the size and the location on the file of the orange signature box. Then, you must press “Next“.

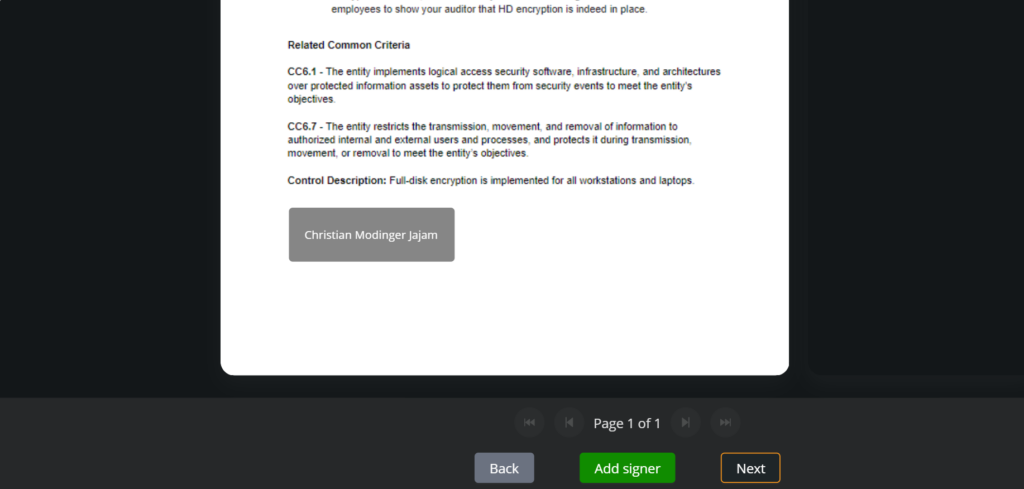
Confirm the decision: The signature box now is gray and has the name of the contact that you chose. If you don’t want to add another signer, you must press “Next“.
Difference between Remote and Remote SMS: After the signer chose the sign method, if you chose “Remote SMS” in the beginning, you will receive a OTP (One Time Password) on your mobile phone and you must enter the password and press “Sign“.
To set your mobile phone number, please see Setting up your country and phone number (E) – legale.io

Sign by Legale user #
You can set a workflow and send the file to a Legale user that you have in your own account.
Choose sign by Legale user: Press “Sign by Legale user” and then you must press “Next”.
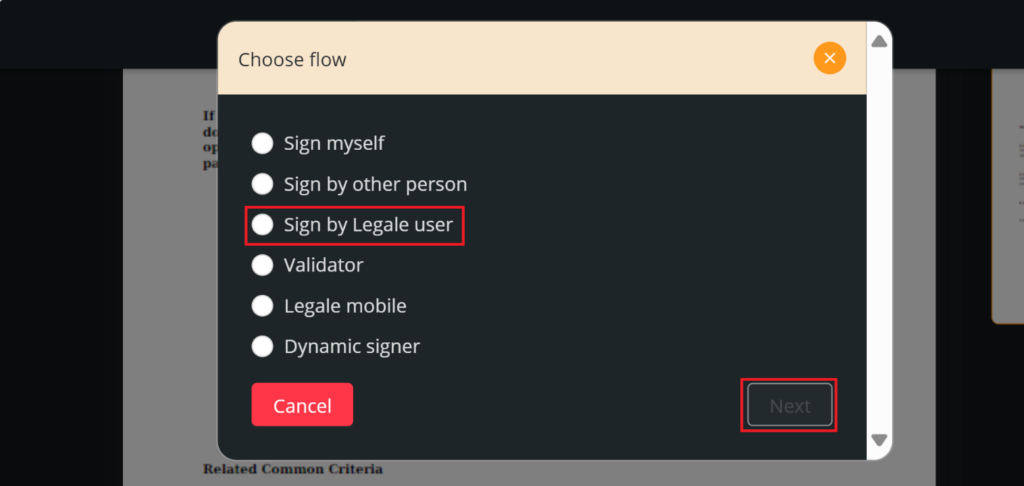
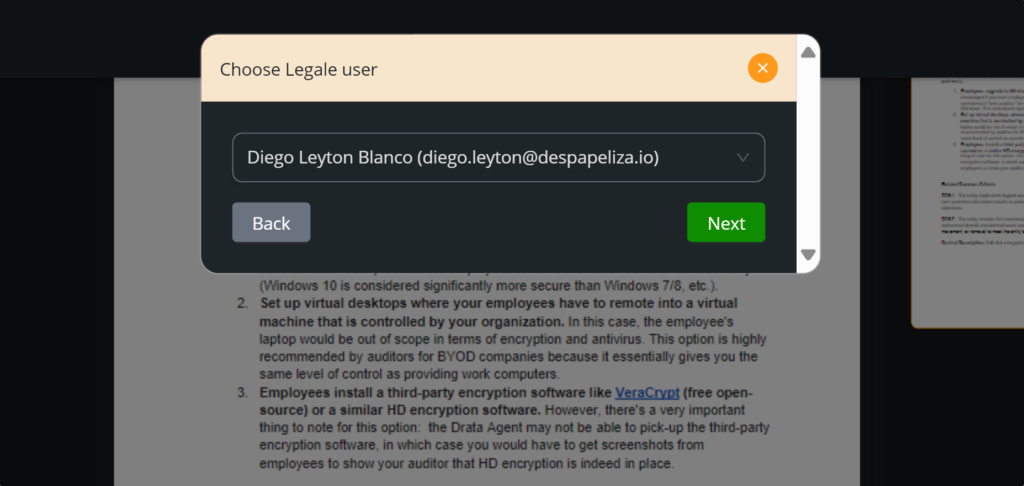
Choose Legale user: You must choose the Legale user that you want to sign the file. For this example, we will choose Diego.
To add a new user, please see Creating a new user(*) – legale.io
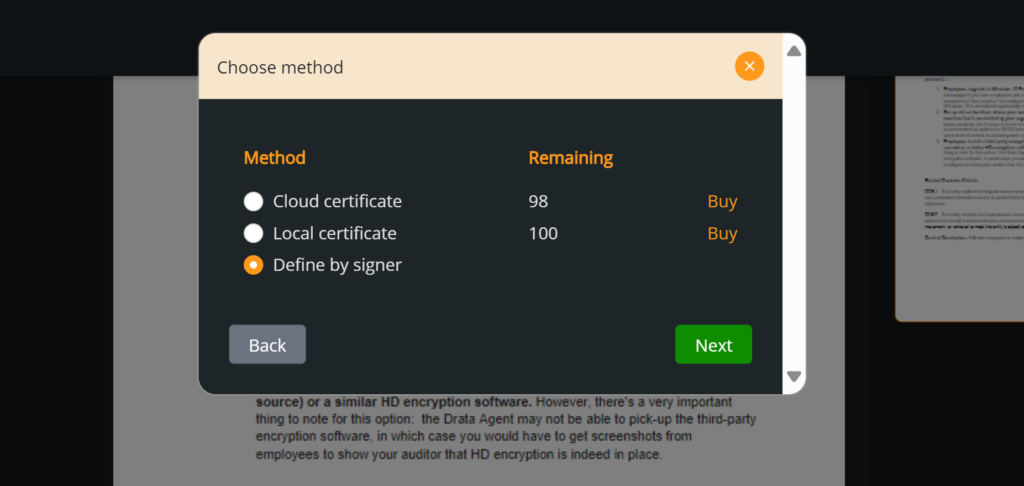
Choose method: For this example, you will set that the own user has to choose the sign methos by pressing “Define by signer“.
Adjust the signature box: Adjust the size and the location on the file of the orange signature box. Then, you must press “Next“.

Confirm the decision: The signature box now is gray and has the name of the contact that you chose. If you don’t want to add another signer, you must press “Next“.

Validator #
Instead to insert a signature box, you can set a validator flow to just approve the document.
Choose validator: Press “Validator” and then you must press “Next”.
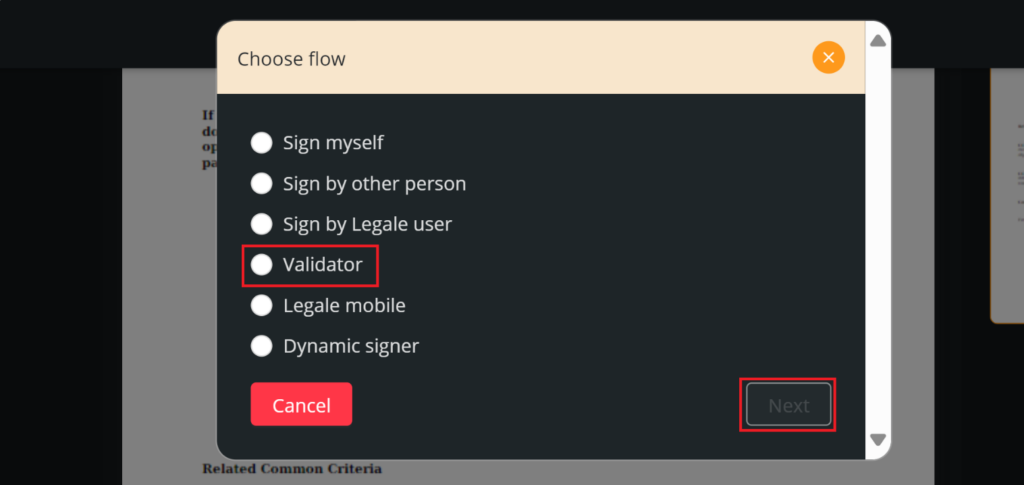
Choose method: For this example, you must choose if you want to send the file to a “Contact” or a “Legale user“.
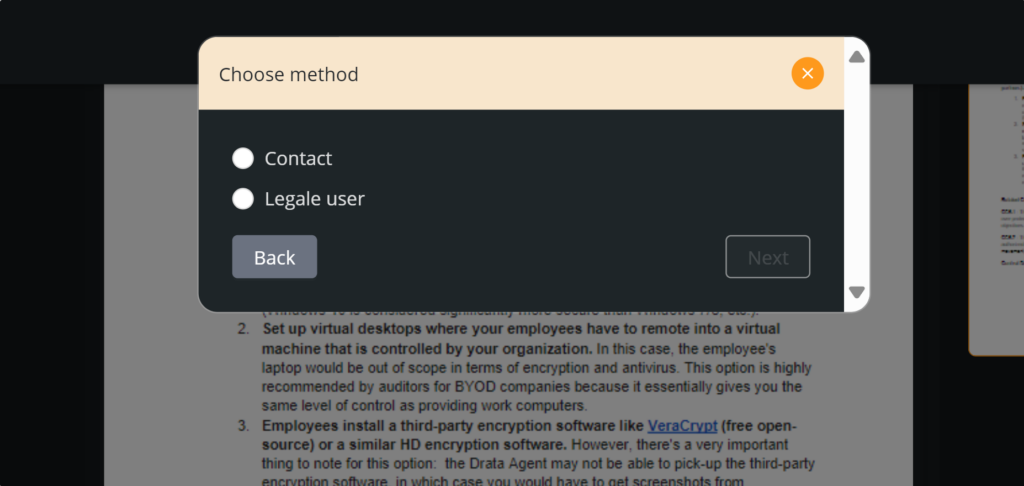
Choose contact: If you choose “Contact“, you must choose the contact that you want to approve the file.
To add a new contact, please see Adding a new contact – legale.io

Choose Legale user: If you choose “Legale user“, you must choose the Legale user that you want to approve the file.
To add a new user, please see Creating a new user(*) – legale.io

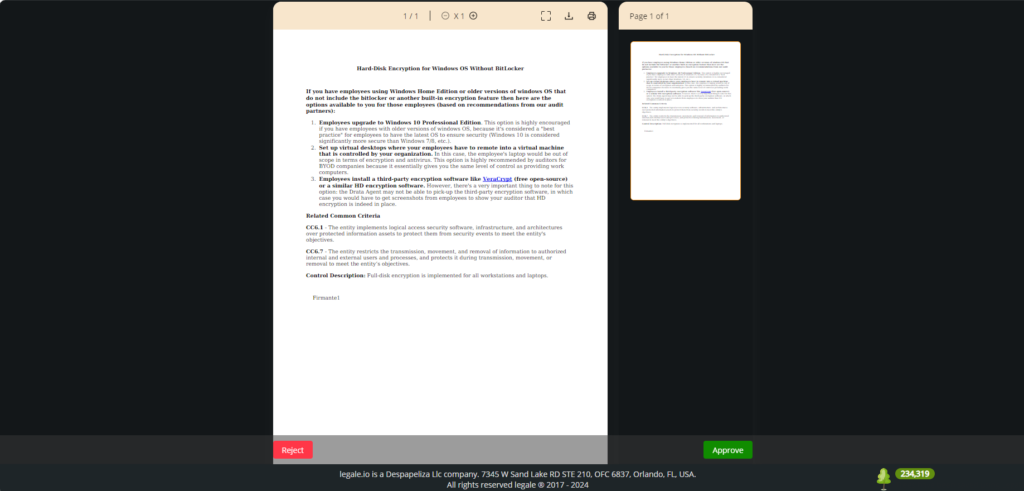
Approve the file: We can see that there is no longer a signature box. Now, to approve the file you must press “Approve“.
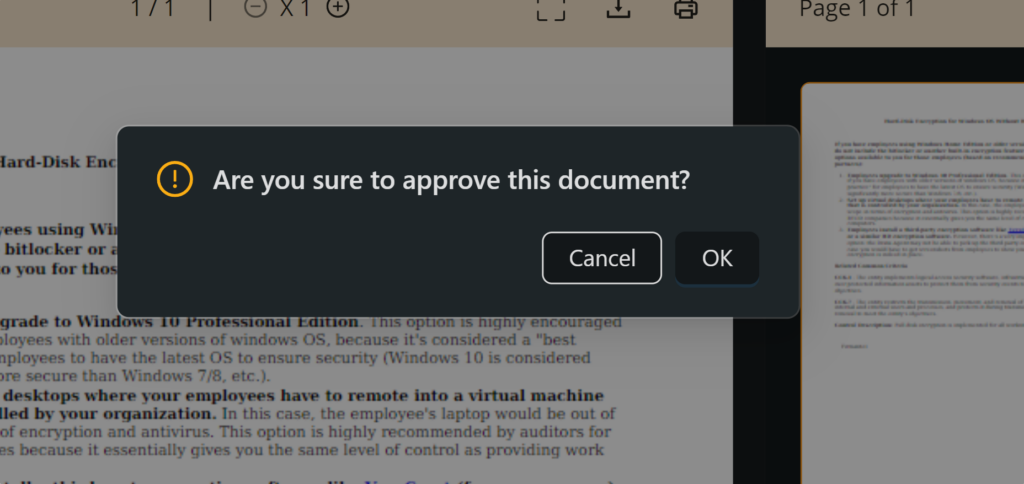
Confirm the decision: Press “OK” if you are sure to approve the file.
Legale mobile #
You can set a workflow and send the file to the Legale mobile app and then sign it.
Choose Legale mobile: Press “Validator” and then you must press “Next”.
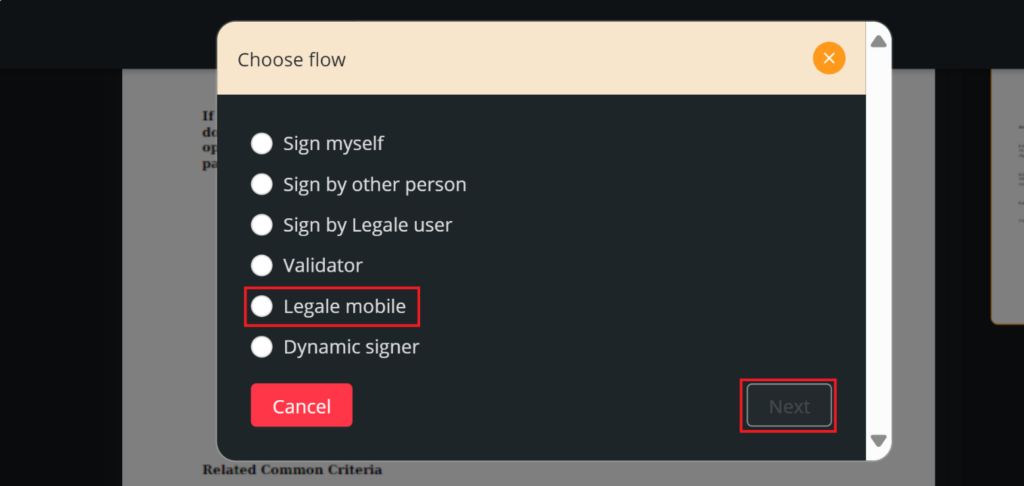
Choose tablet: You must choose the device that you want to send the file. For this example, we will choose the device called Dispositivo 1.
To add a new device, please see Connecting your devices – legale.io
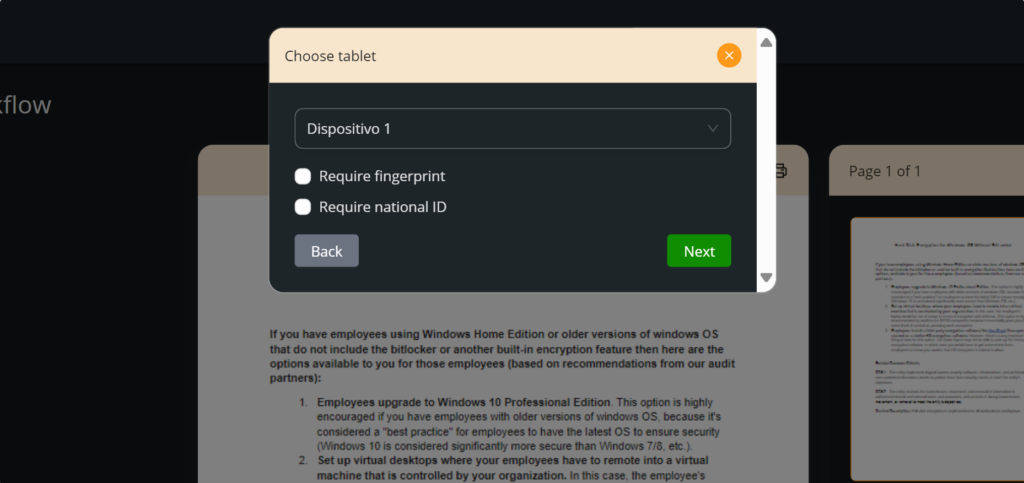
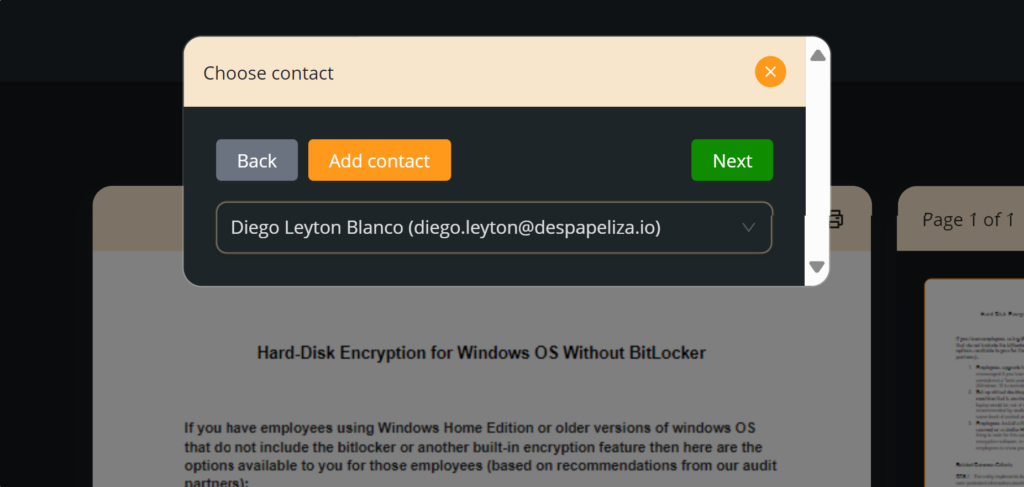
Choose contact: You must choose the contact that you want to send the file to his connected device. For this example, we will choose Diego.
To add a new contact, please see Adding a new contact – legale.io
Adjust the signature box: Adjust the size and the location on the file of the orange signature box. Then, you must press “Next“.

Confirm the decision: The signature box now is gray and has the name of the contact that you chose. If you don’t want to add another signer, you must press “Next“.

Go to Legale mobile app: Open the app on your mobile and you will see the file that you sent it.
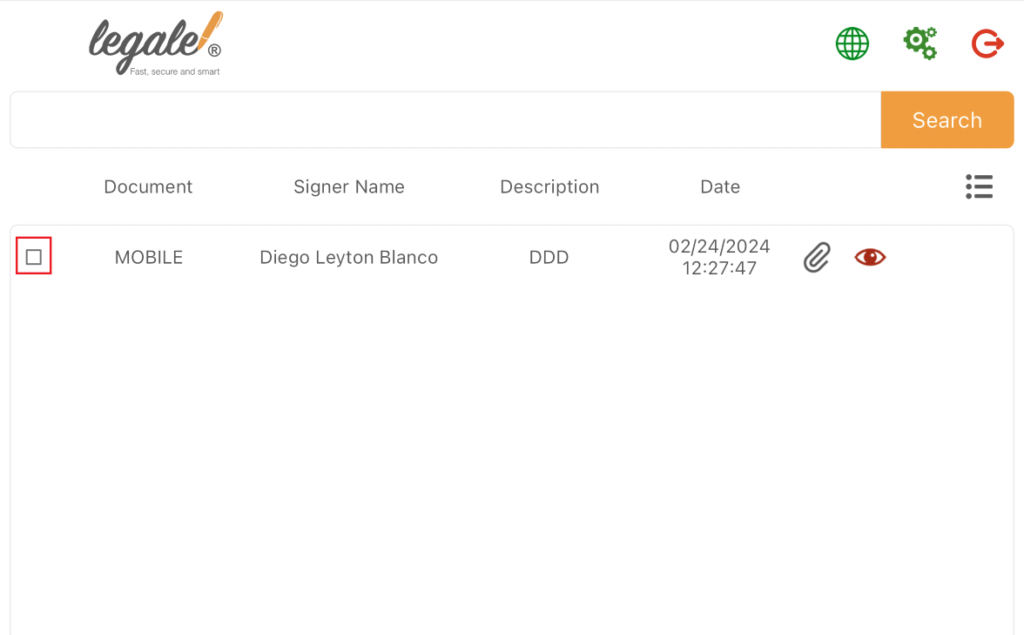
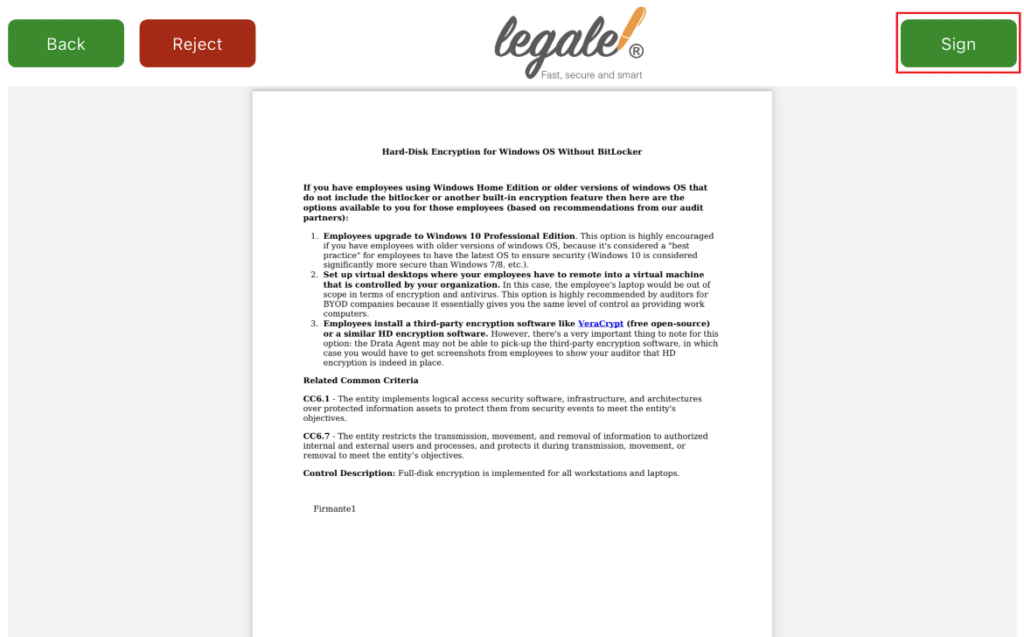
View the file: Select the file and then the green eye to see the file.
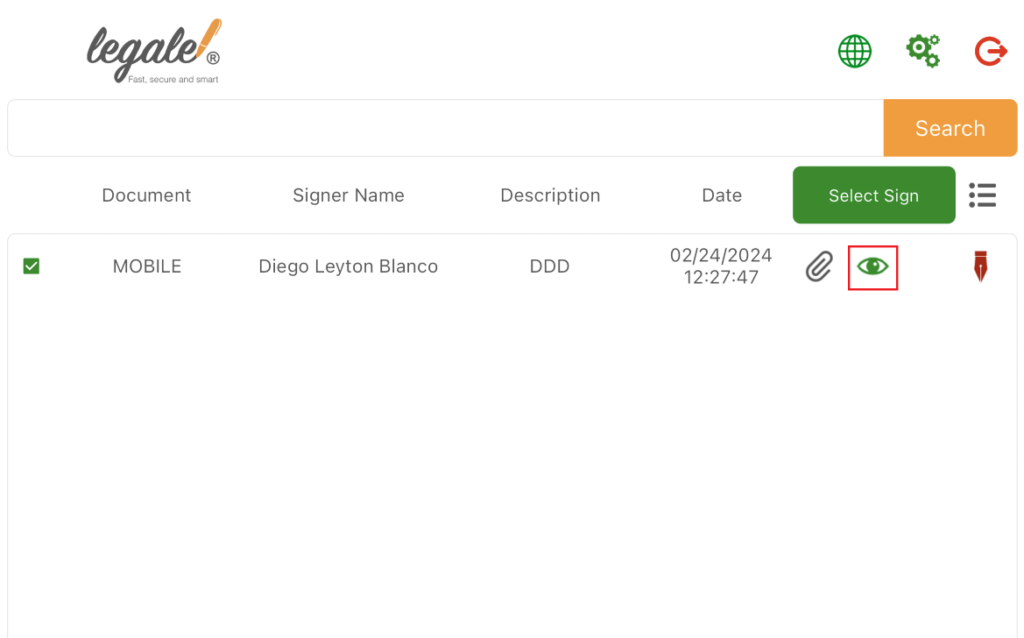
Approve the file: You can reject the file by pressing “Reject” or if you approve it, you must press “Sign” to sign the file.
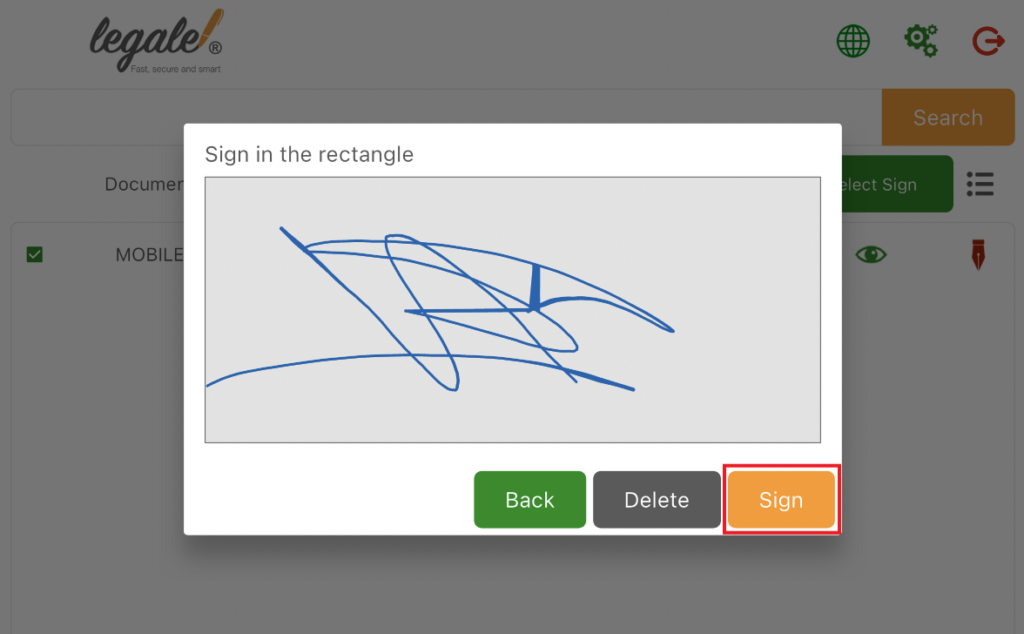
Sign the file: You must draw your file in the box and then press “Sign” to confirm the document signing.
Dynamic signer #
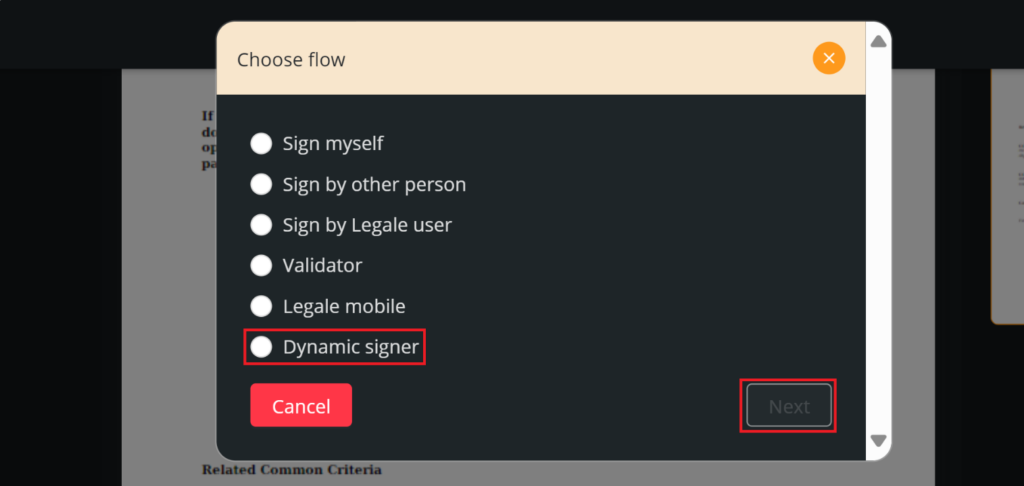
You can choose a dynamic signer flow. If you choose this flow, you can share the link of the document and everyone who have the link, can sign the file. Contrary to the other flows, this one is not directed to a specific contact or user.
Choose dynamic signer: Press “Dynamic signer” and then you must press “Next”.
Adjust the signature box: Adjust the size and the location on the file of the orange signature box. Then, you must press “Next“.

Confirm the decision: The signature box now is gray and is named Dynamic signer. Now, when a contact tries to sign this file, in the signature box it will say the name of the signer. If you don’t want to add another signer, you must press “Next“.
