Customized workflows are essential to optimize the document signing process. Creating a new workflow allows you to design a unique and efficient process that adapts to the particularities of your organization or project, guaranteeing more effective signature management.
In this documentation, we will guide you through the process of creating a new workflow, giving you the flexibility and control to adapt the signing process to your specific needs.
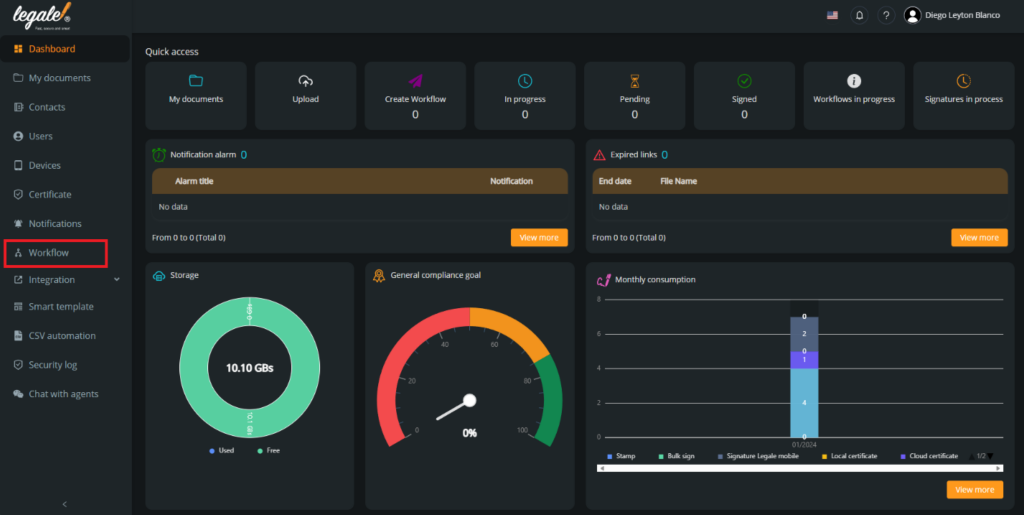
Go to the workflow: The first step is to press “Workflow” in the left sidebar.
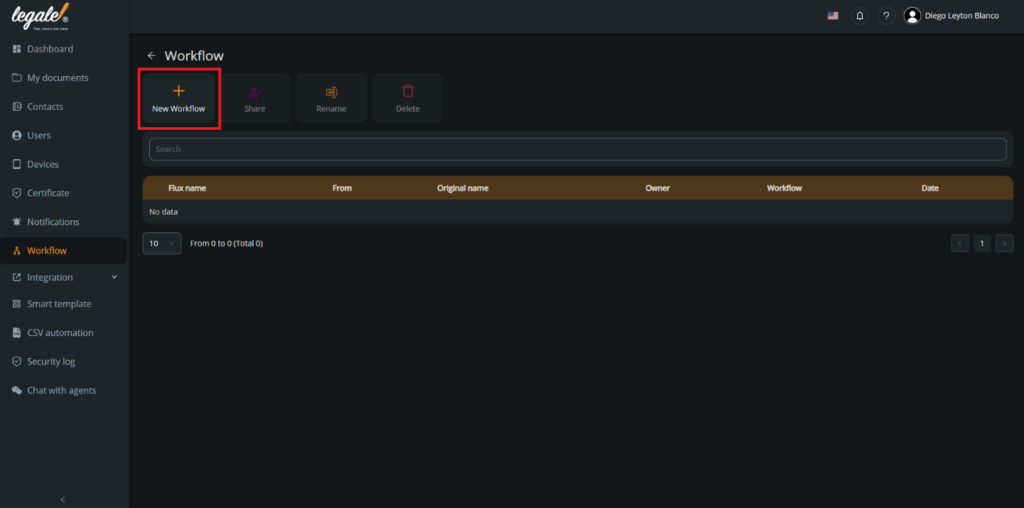
Create a new workflow: Now you must press “New Workflow” in the top bar.
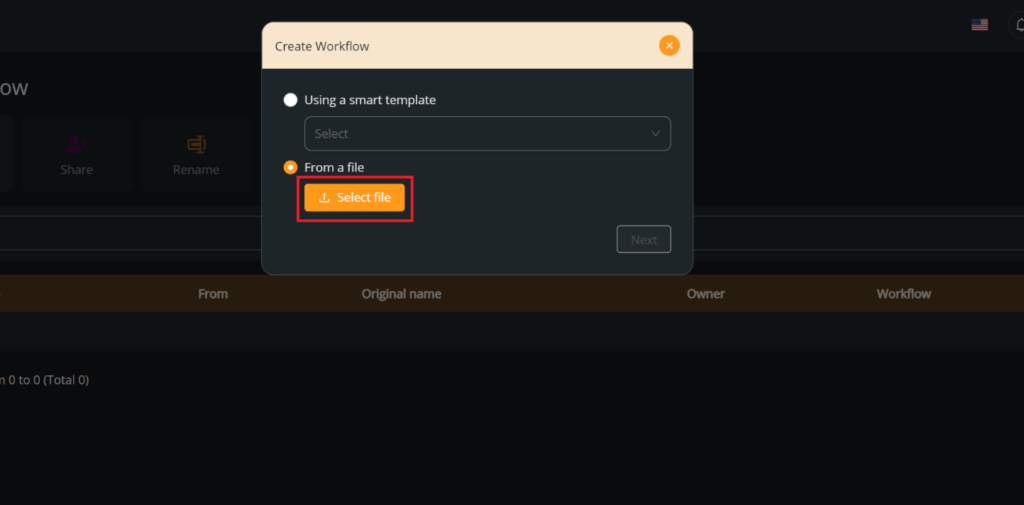
Select a template: You have two options to get a template, one is to press “Select file” and select one template(just pdf) from your device that you want to assign some signers.
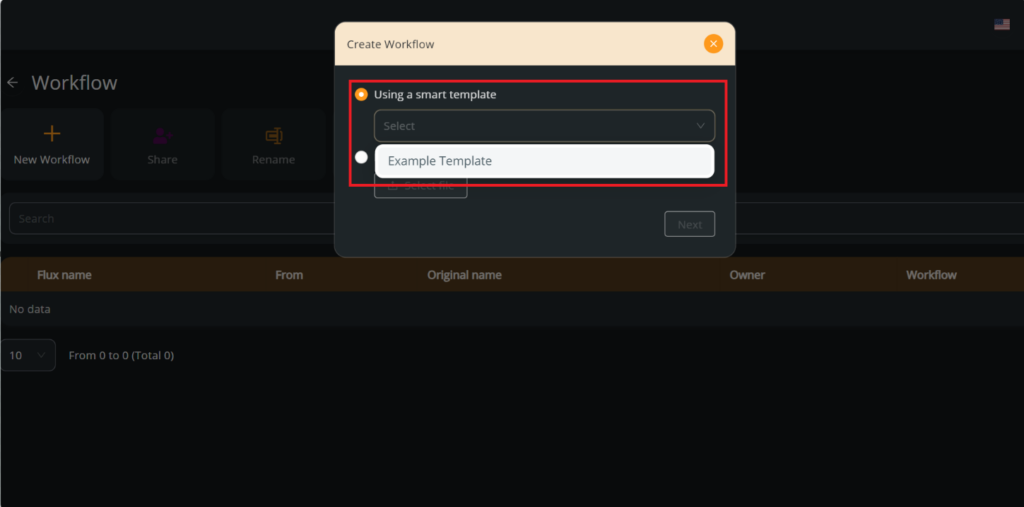
Use a smart template: The second option is to use a smart template. For this example we will use this option, so we choose a smart template that we have created before, in this case it will be the “Example Template“.
You can see how to create a template in Creating a basic template
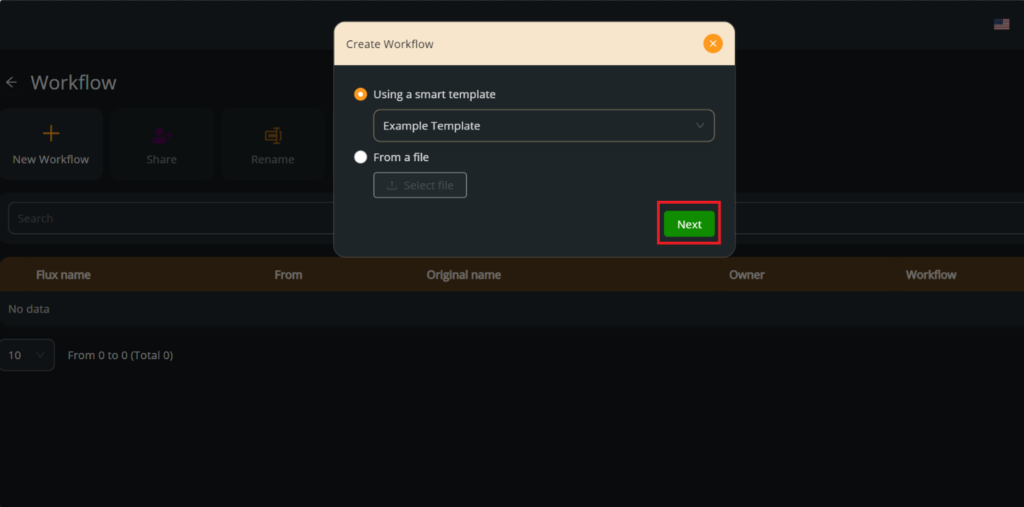
Confirm your choosing: Press “Next” to confirm the template you want to use.
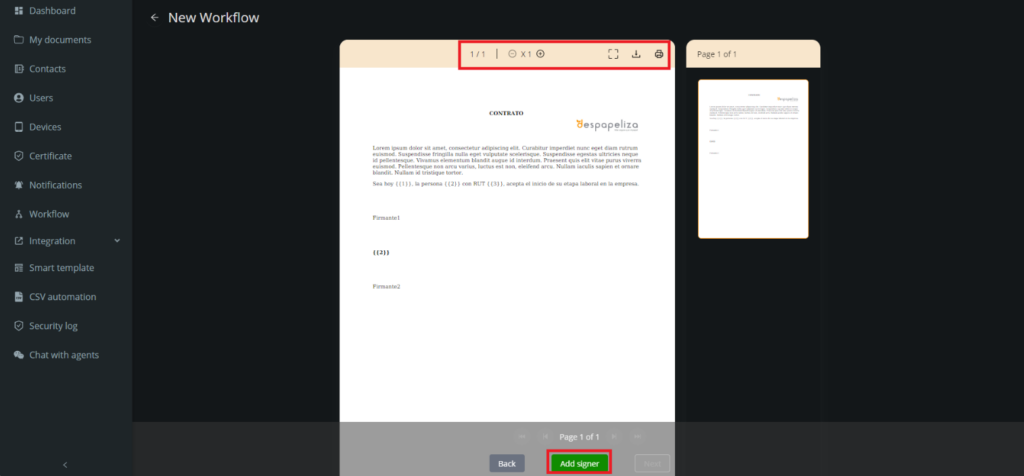
Add the signers: You will see a preview of the document and if you want to add a signer, you must press “Add signer“.
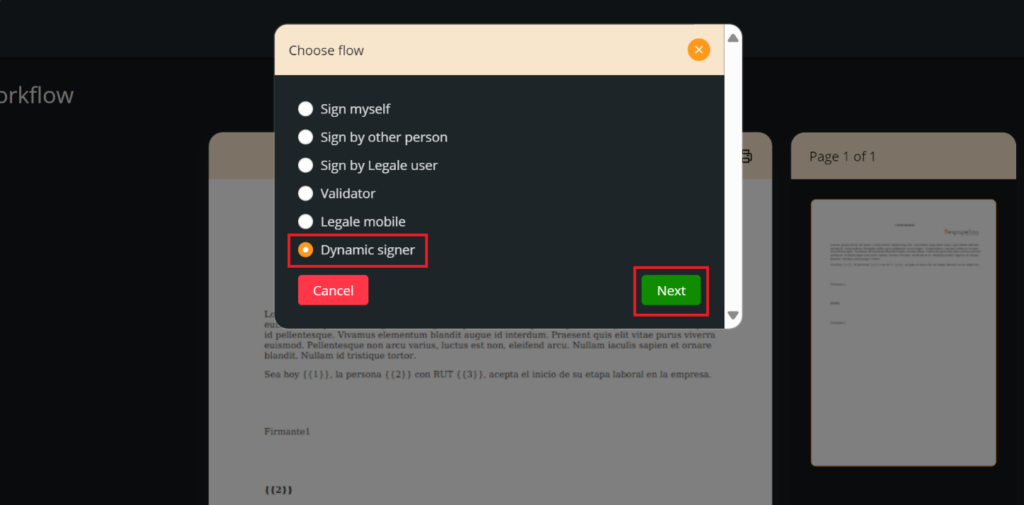
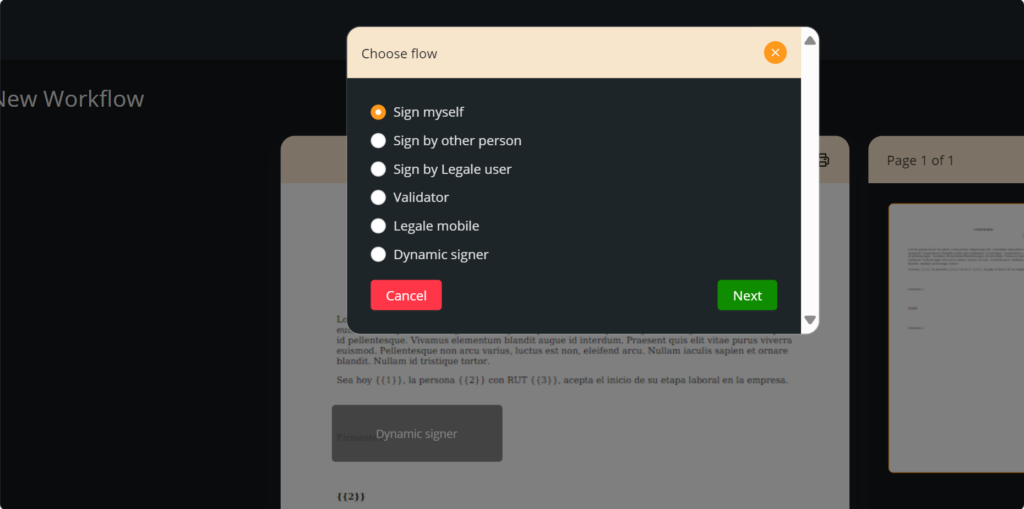
Choose the signer flow: You must select the signer flow you want for your template and press “Next“.
You can see the difference between all flows in Adding a signer in the workflow(*) – legale.io
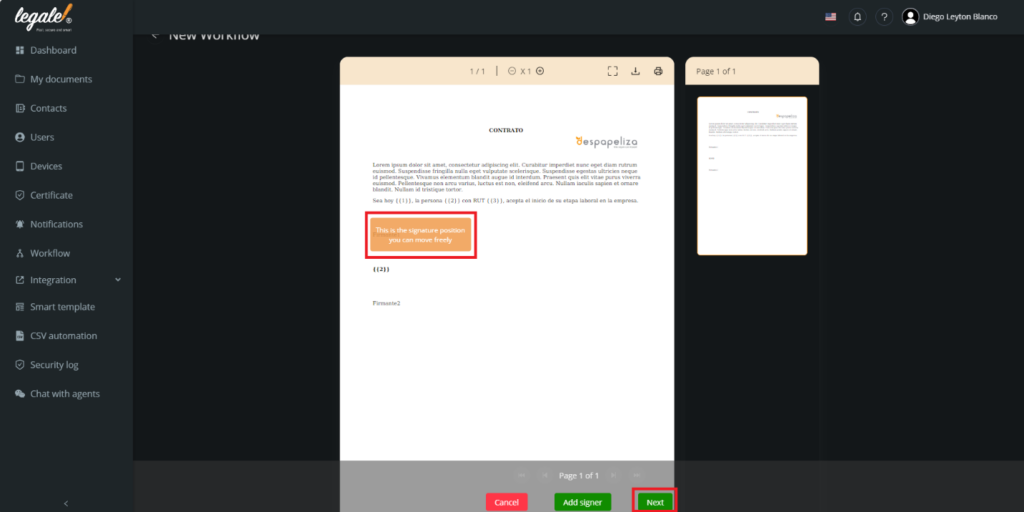
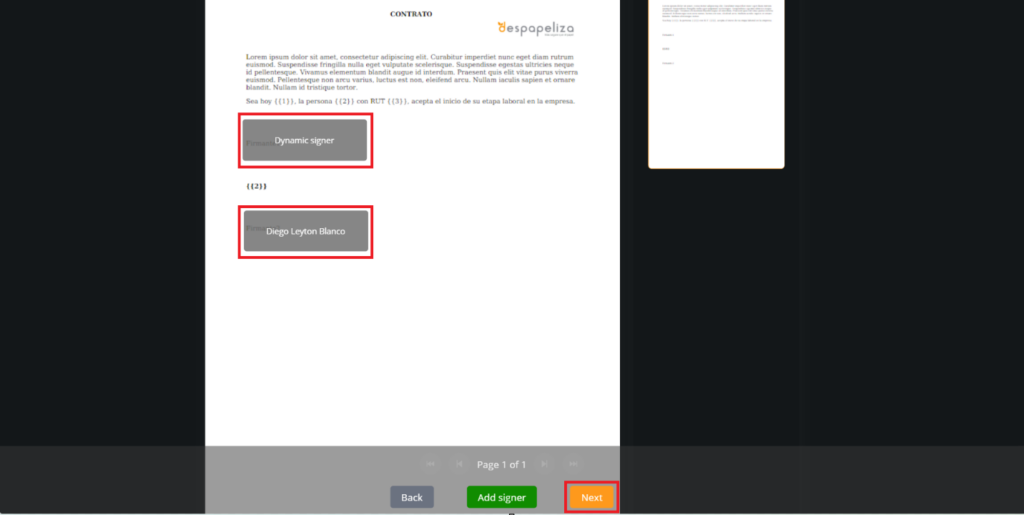
Add another signer: You can keep adding another signers following the same step we did before.
Confirm your signers: Press “Next” if you do not want to add another signer in your document.
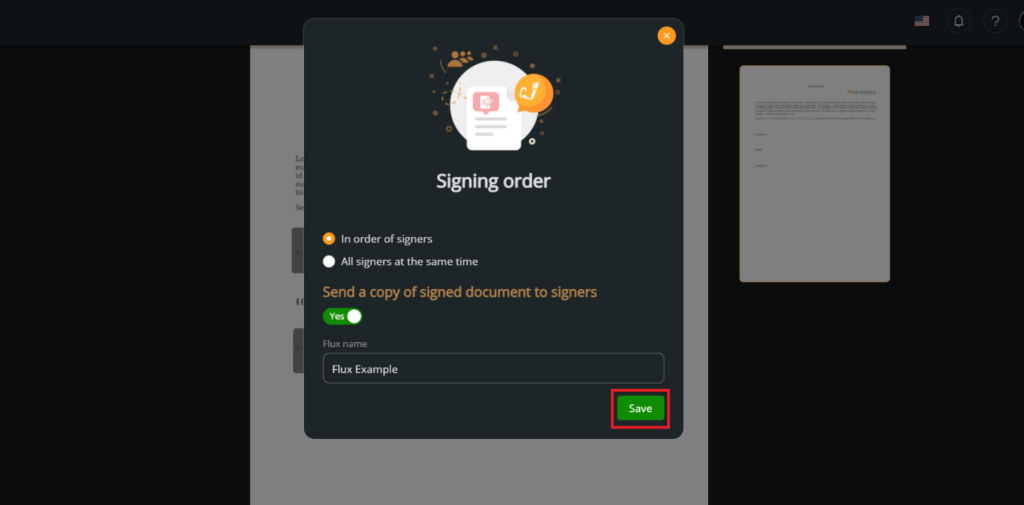
Save your workflow: You must put a name to the workflow, in this example we will call it “Flux Example”. And press “Save” to save the workflow.
