Filling templates from a CSV file is essential to streamline workflows and improve document generation accuracy. By using data from a CSV, you can automate the process of filling out variable fields in your templates, allowing you to create custom documents quickly and accurately.
Through this guide, we will provide you with detailed instructions on how to fill out templates using data from a CSV file uploaded to the platform. From importing and mapping data to filling out variable fields in your templates, we’ll show you how to make the most of this feature to optimize your work processes.
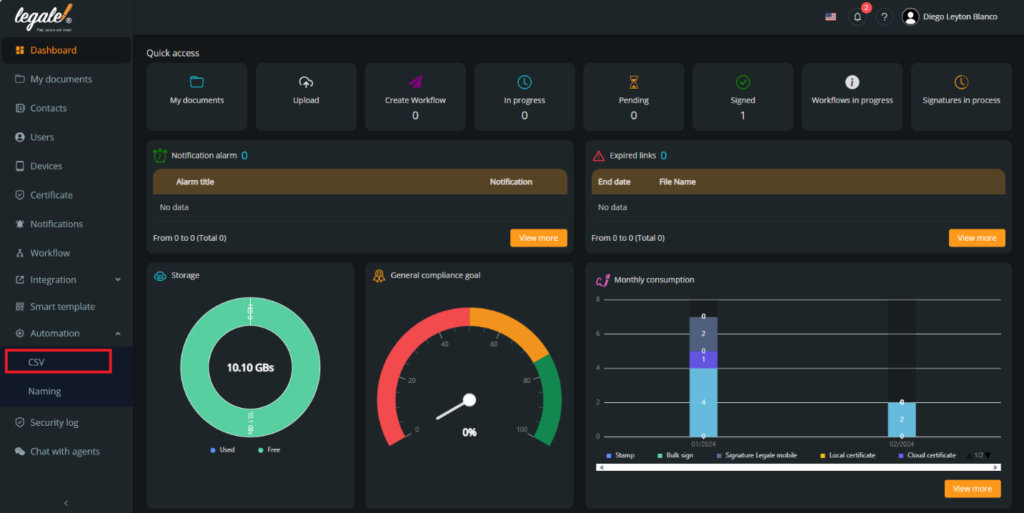
Go to CSV automation: The first step is pressing “CSV Automation“.
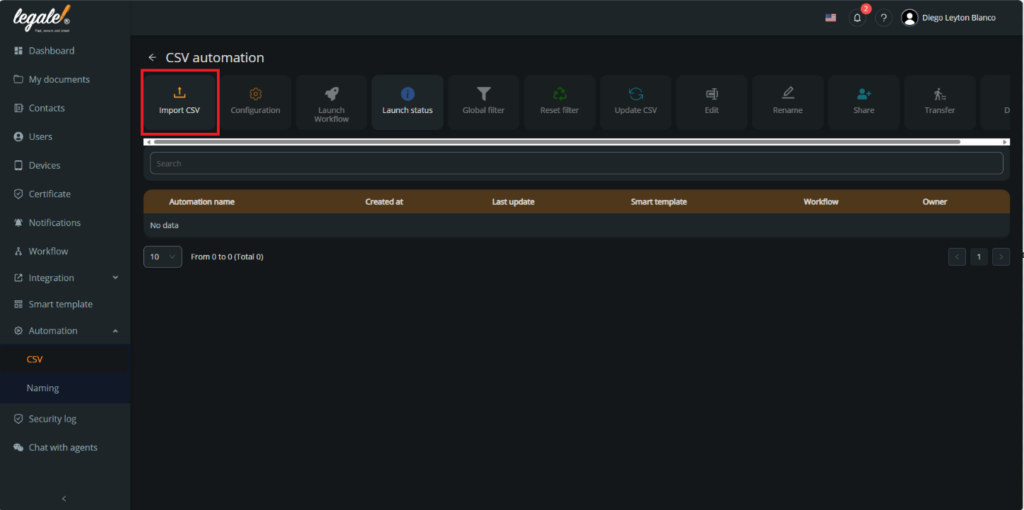
Import CSV: Press “Import CSV” to get access to the CSV settings.
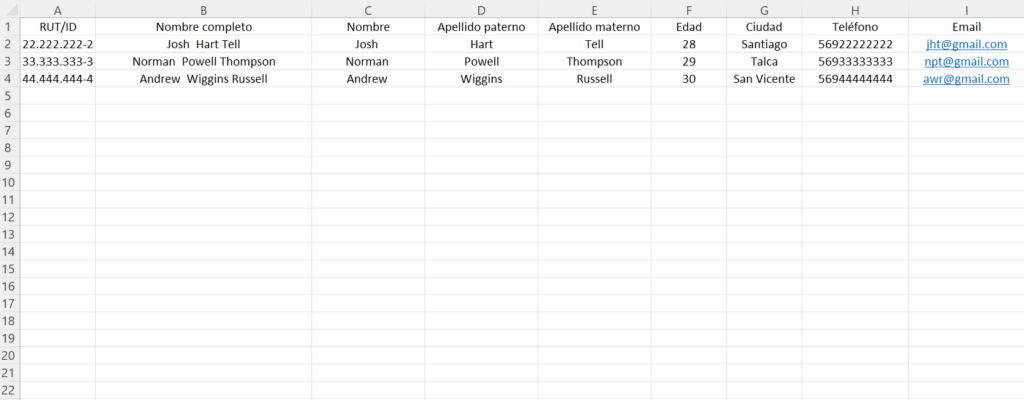
CSV Example: For this documentation we will use the following CSV that contains data from 3 users, it has the RUT/ID, full name, first name, first last name, second last name, age, city, phone number and email.
This CSV need to be saved with the extension CSV UTF-8.
Import CSV settings: You must name the automation. In this case the name will be “Example Template“, the same name we used in the template we created in Creating a basic template(*) – legale.io
Also, you must pick where the CSV is located. In this case is in our own PC. Then, in the advanced settings, you must choose how the fields are separated and if the fields are bounded. Last setting is if the CSV contains headers, what is correct in this case.
After you finished the settings, you must press “Select CSV” to going and search the CSV.
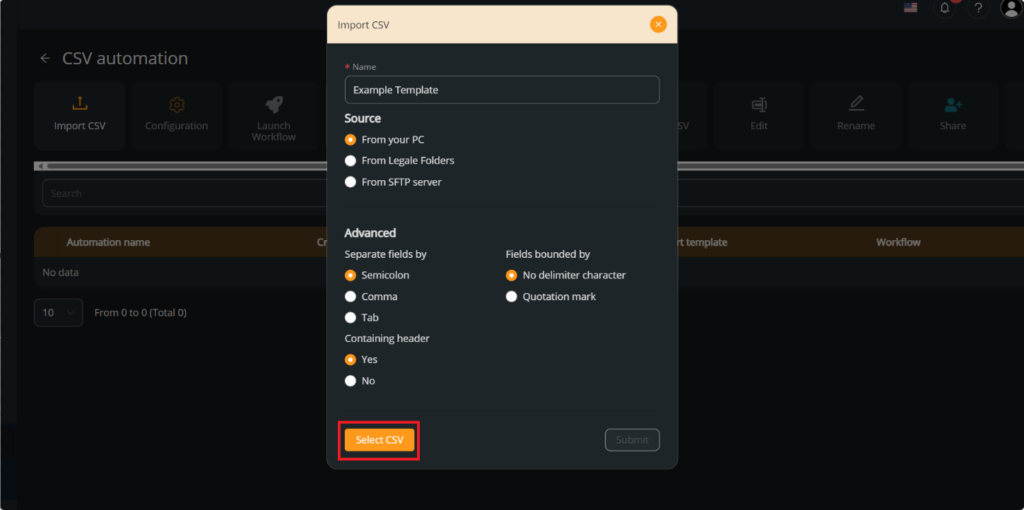
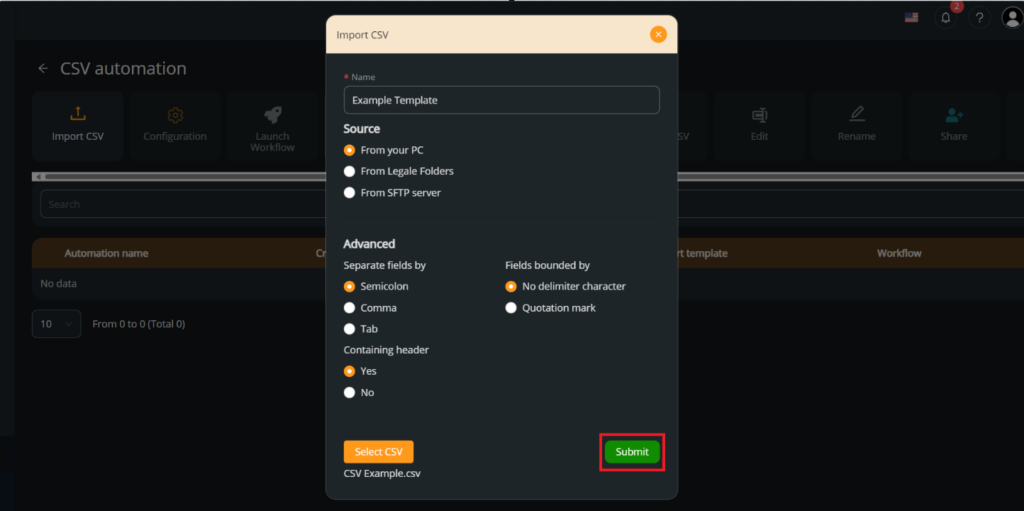
Select CSV: Select the CSV you want to import, in this case it will be “CSV Example” and press “Submit“.
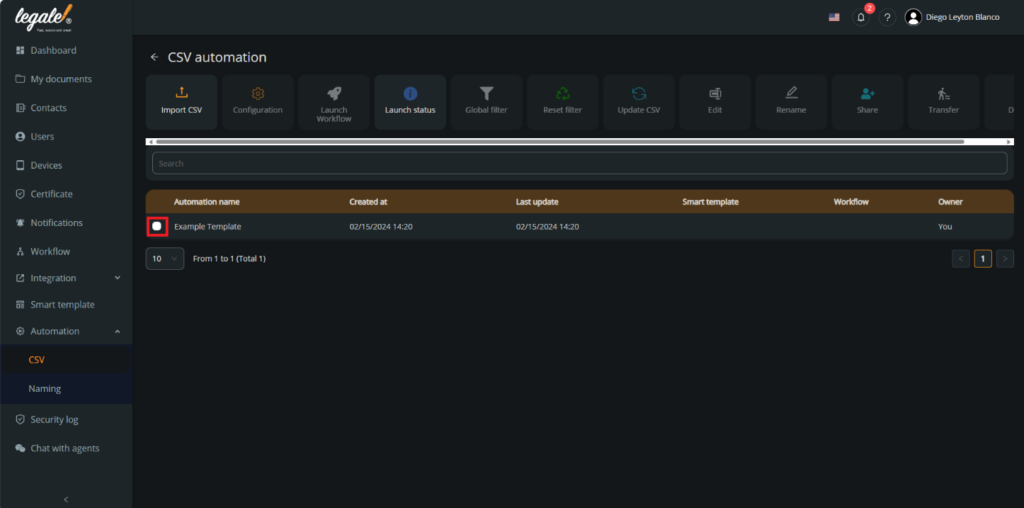
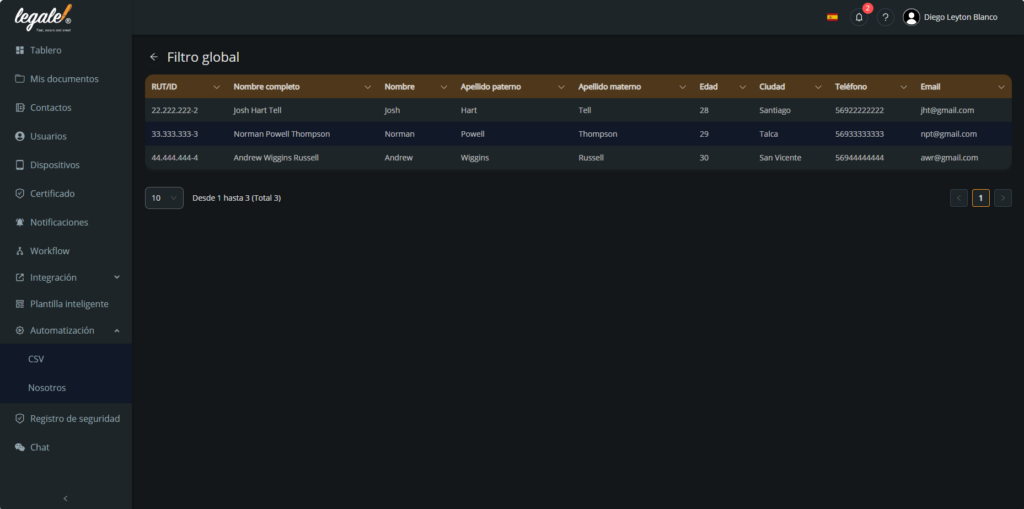
Preview the CSV: You can see if you import the CSV right by pressing the automation you created and then pressing “Global filter“.
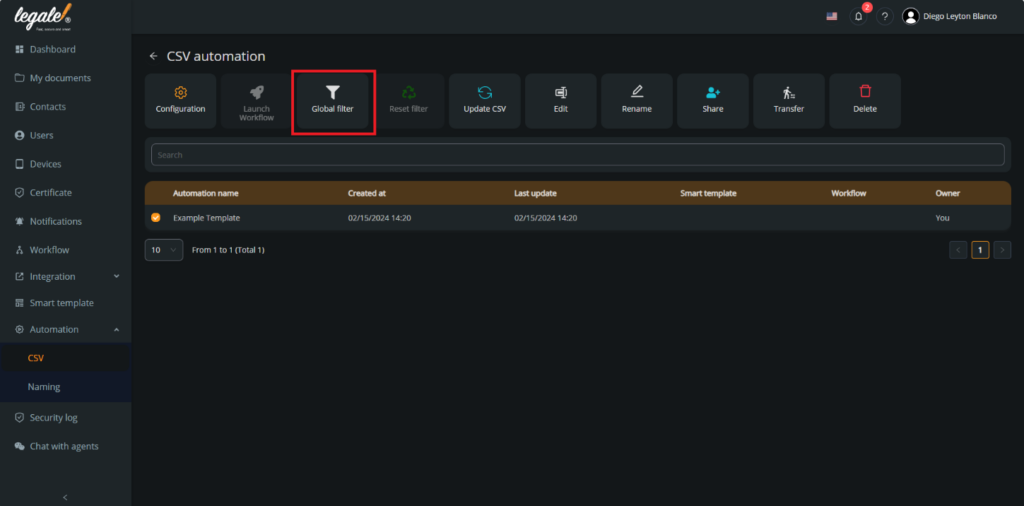
Global filter: You will see the same CSV from your documents, but uploaded in the platform.
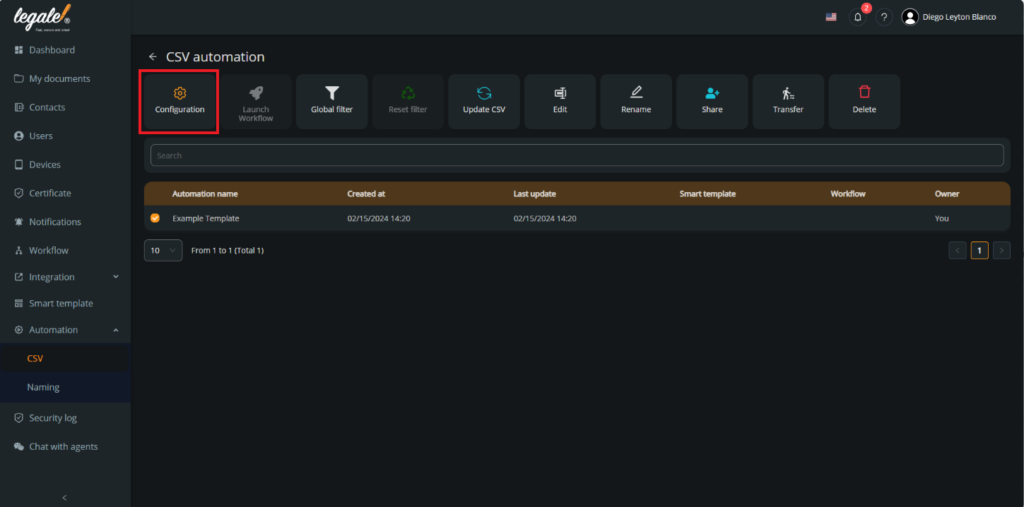
CSV Automation Configuration #
Select the automation and press “Configuration”
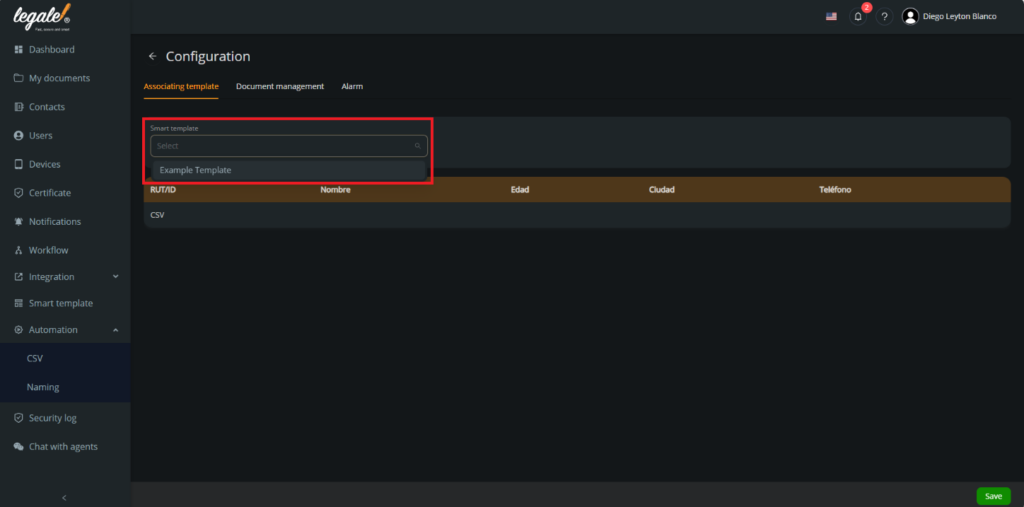
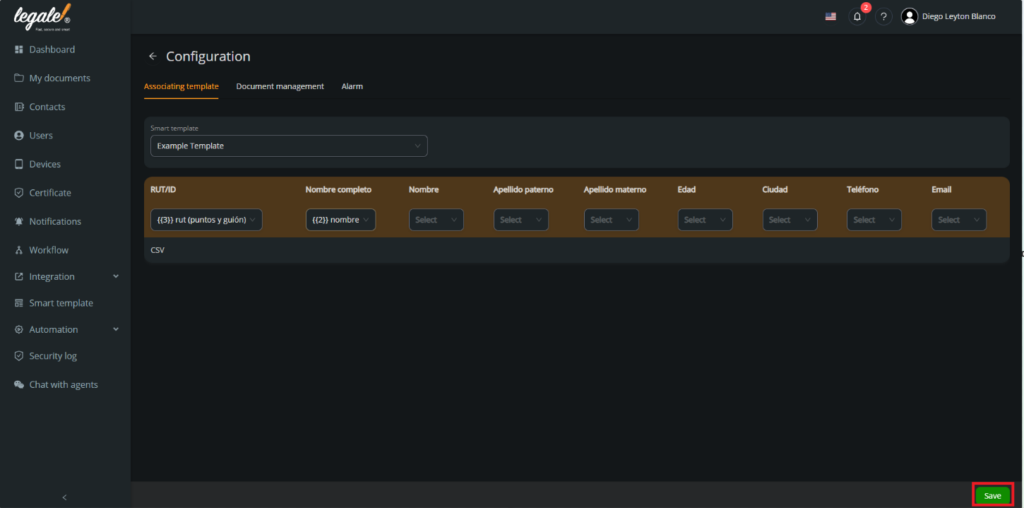
Choose the smart template: You must choose a smart template created before, which you want to fill with the data from the CSV.
You can see how to create a template in Creating a basic template(*) – legale.io
#
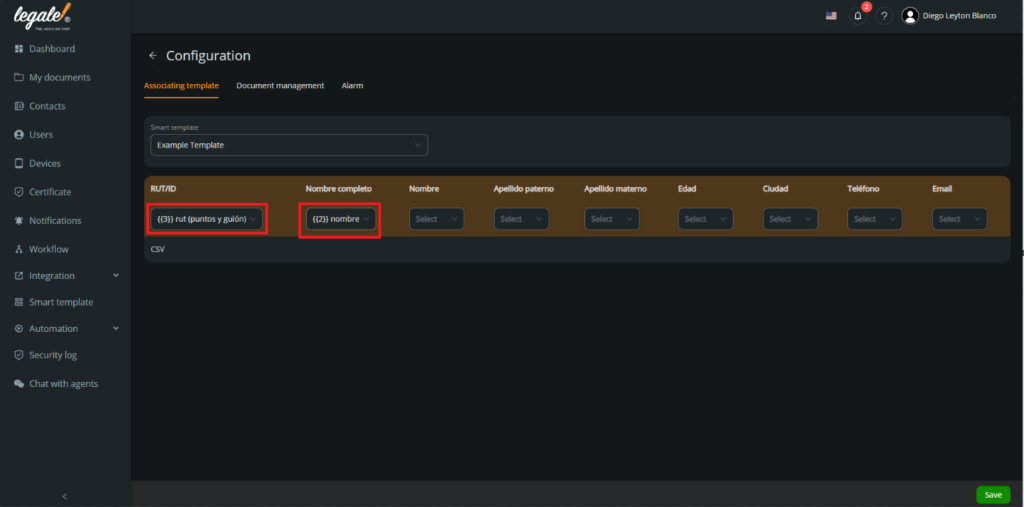
Linking the fields: You must link the fields you inserted in your template with the respective columns from the CSV where you want to insert the information of that respective column. In this case, we will associate the field {{2}} with the column where are the names of the signers and the field {{3}} with the column where are the RUT/ID of the signers.
Save the settings: Press “Save” to save the settings.
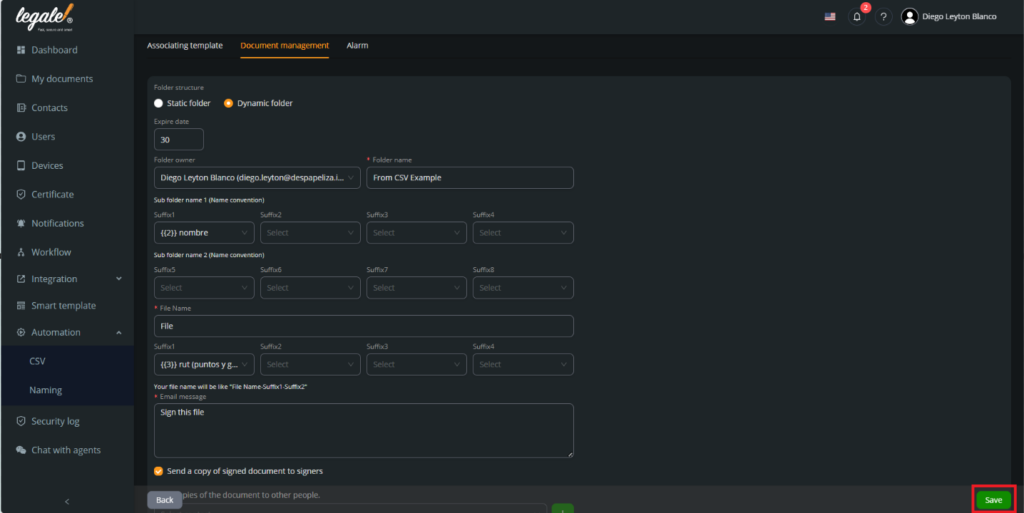
Document management: You must choose the save settings for the document, choose between static or dynamic folder and the name of the respective files.
You can see the difference between static and dynamic folder in Difference between static and dynamic folder(*) – legale.io
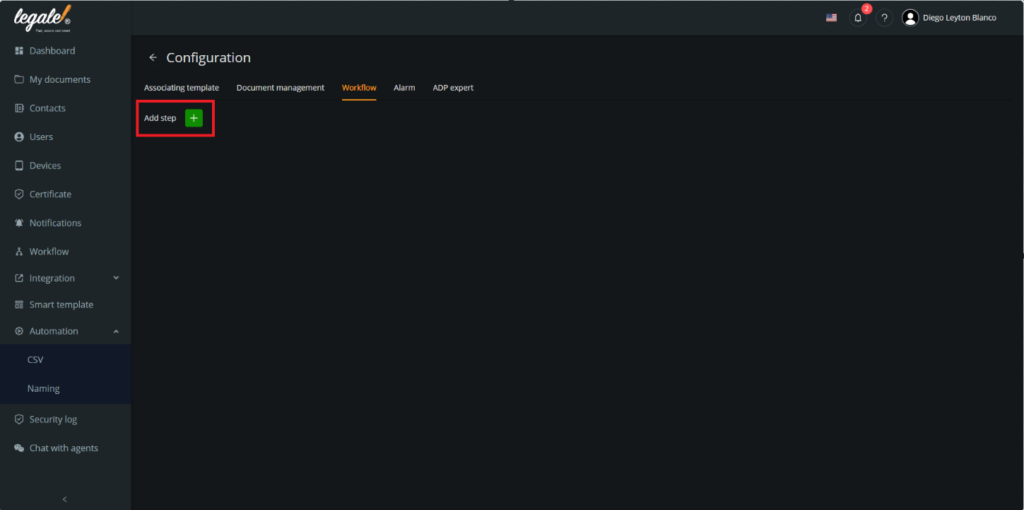
Workflow: Final setting is to add a step in the workflow by pressing “Add step“.
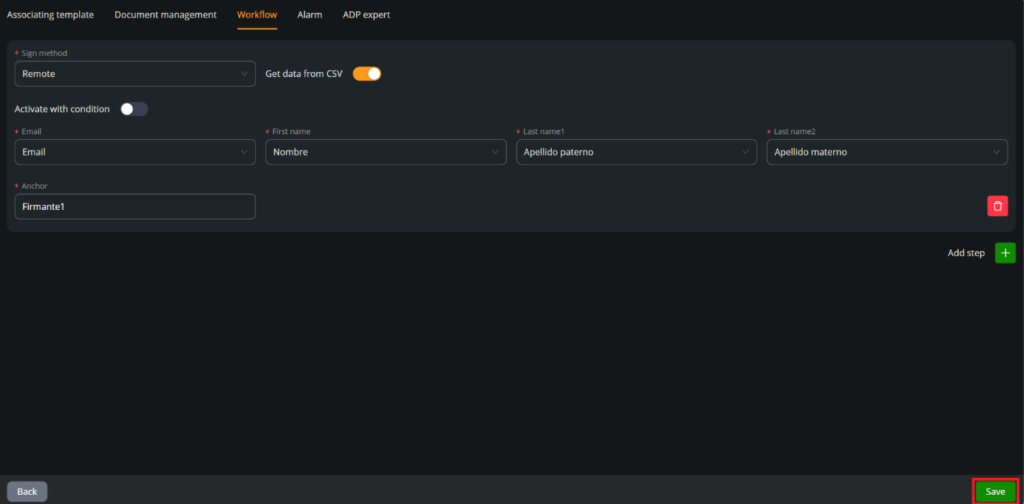
Workflow settings: You must select the sign method for every person in the CSV. You can also extract personal data from the CSV. For this example, we will select a “Remote” sign and get data from CSV.
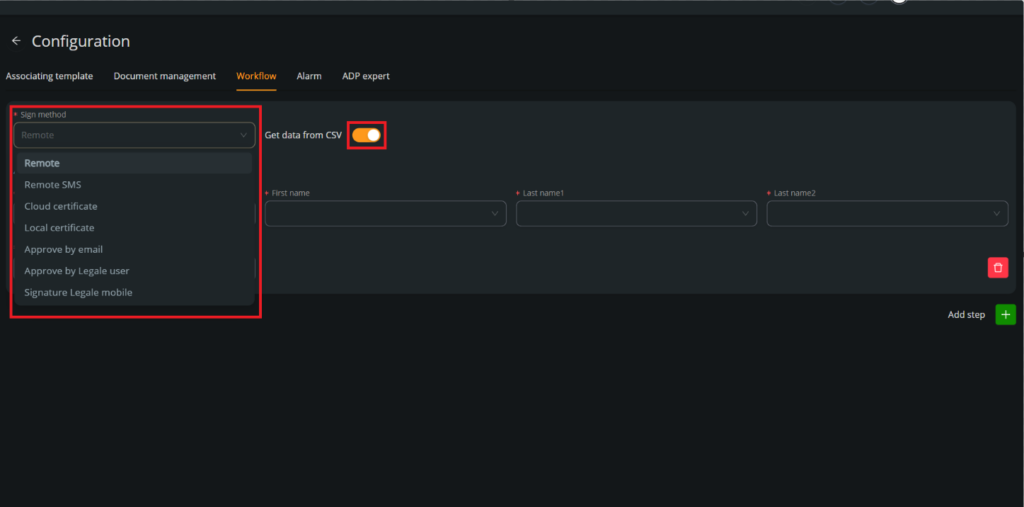
Get data from CSV: You can assign personal data with columns from the CSV. In this case, we related Email, First name, Last name1, Last name2 and the Anchor. Keep an eye on the Anchor, this is the space we left in the template where the signer will sign. Press “Save” to confirm the settings.
Launch Workflow #
Select the automation again and now you unlocked a new function
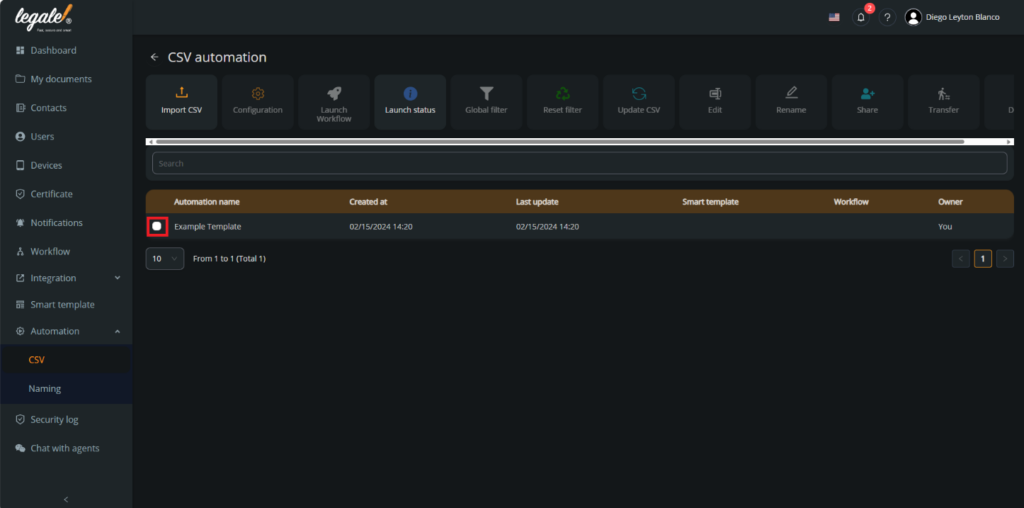
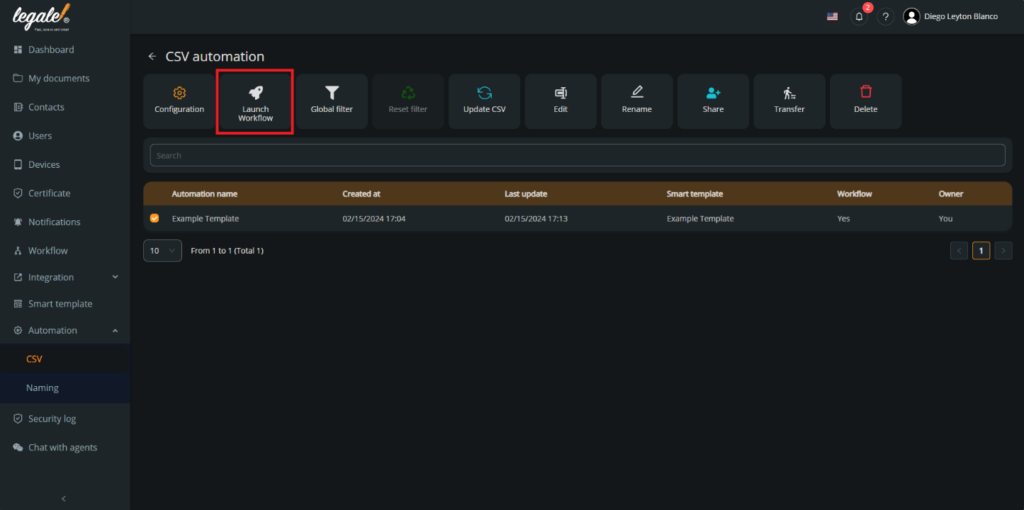
Launch Workflow: Press “Launch Workflow” to start to send the sign invitations.
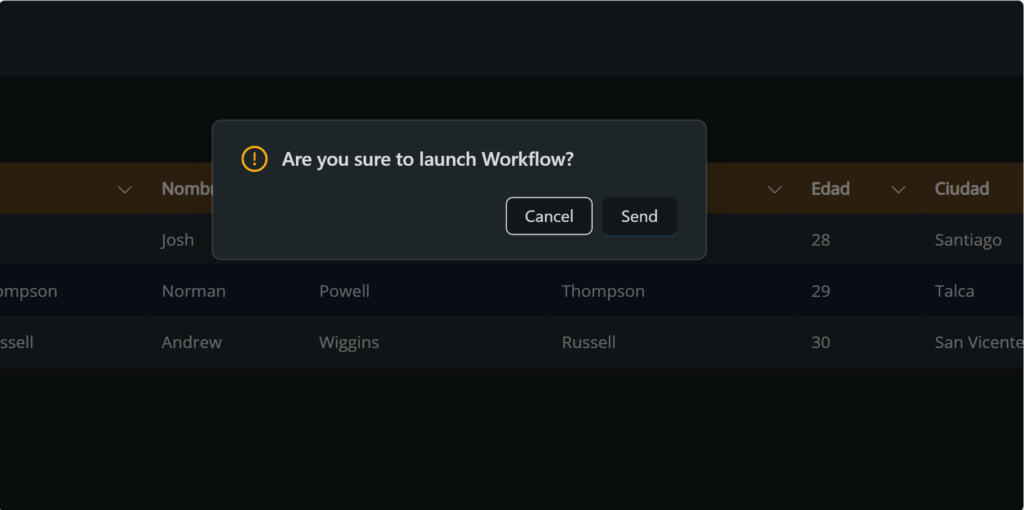
Launch Workflow preview: Before launch the workflow, you need to confirm the data from the automation and then press “Send” to send the sign invitation to each person in the automation.
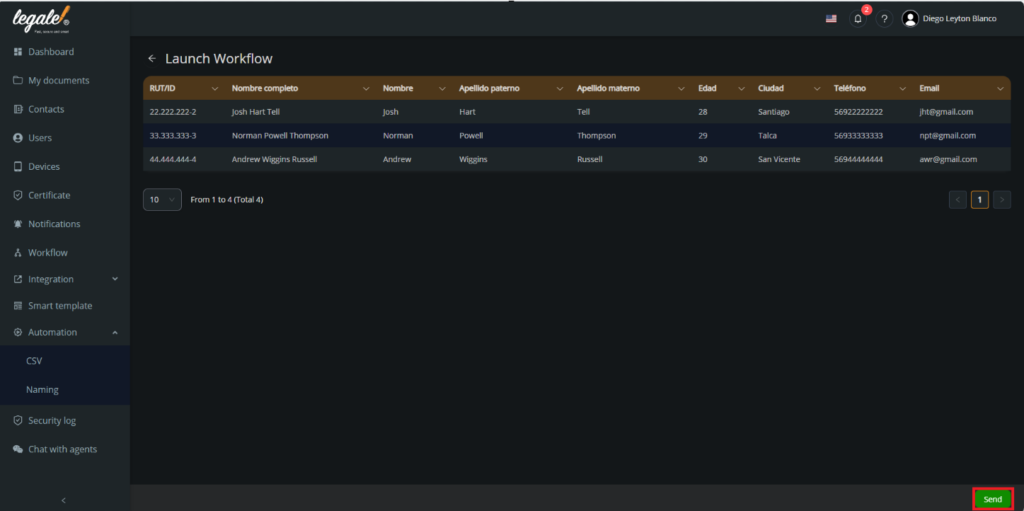
Confirm: Press “Send” to confirm if you want to launch the workflow.
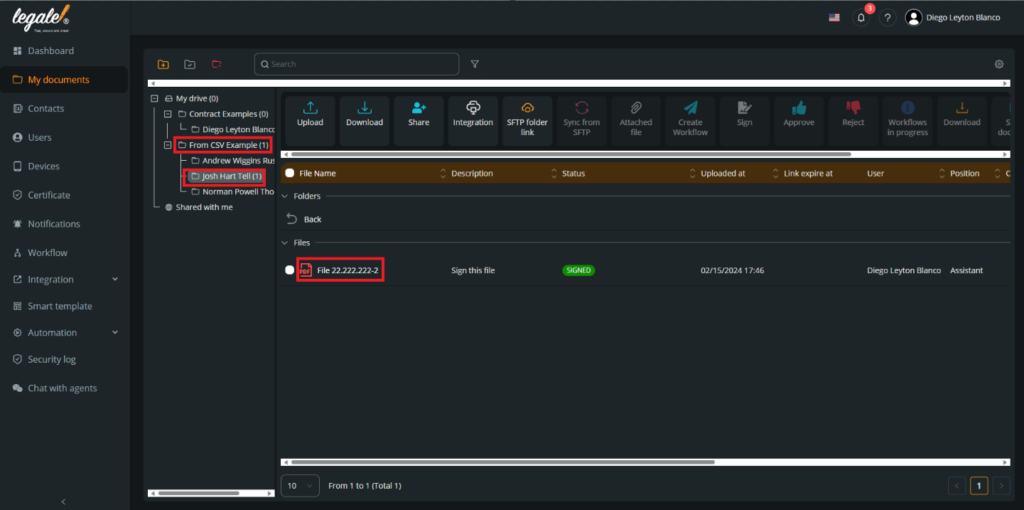
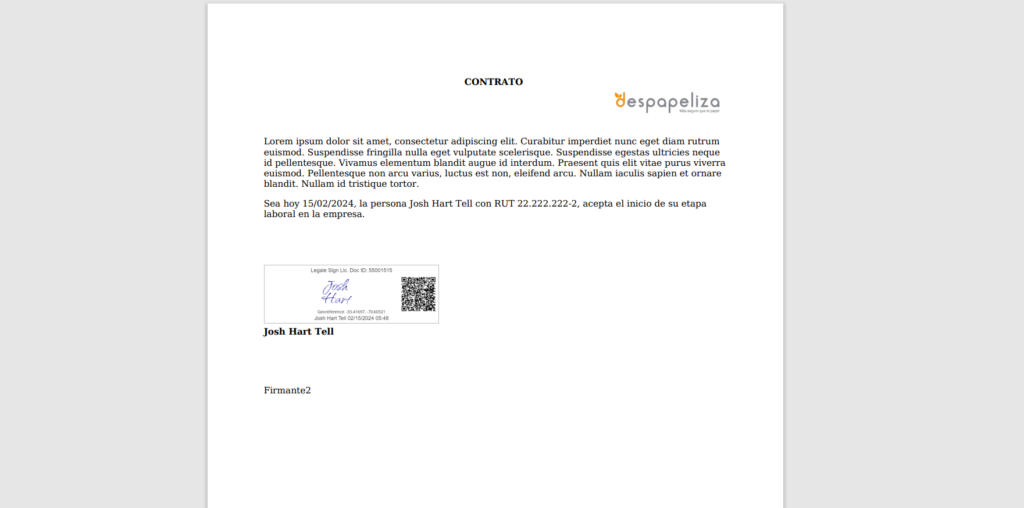
Signer view: Every signer will receive a sign invitation and will have to sign with their favorite sign method. In this case, the first person on the automation, Josh Hart Tell have signed the document.
Saved document: You can go to your drive and check if the mother folder was created, if the dynamic folder was created and if the file was saved with the name correctly.
