Create a new Smart Document #
To create a new Smart Document, go to the Smart document section in the left-hand menu, and click the New Smart document button (marked with an orange plus icon) located at the top of the page—this will initiate the setup process for a new document template.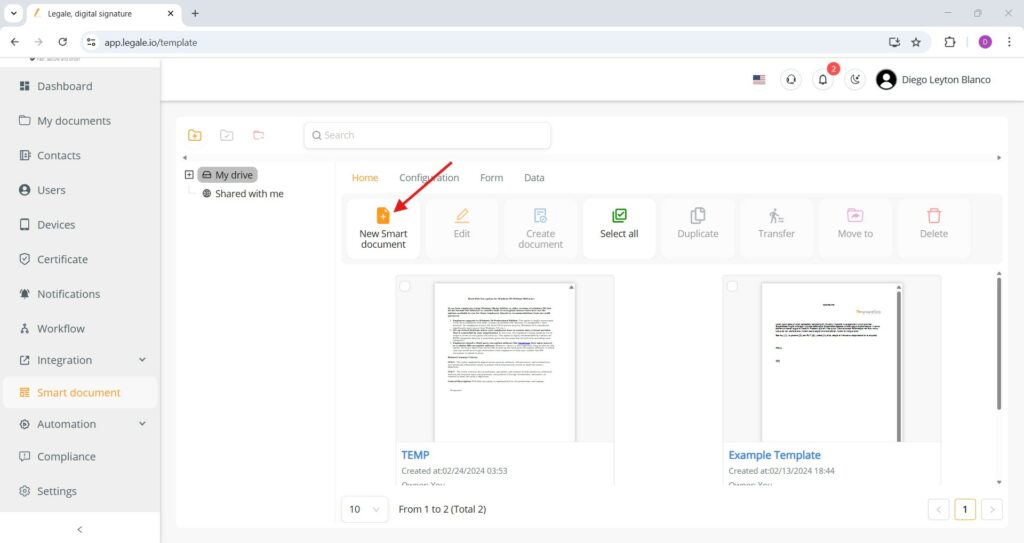
Import from DOCX #
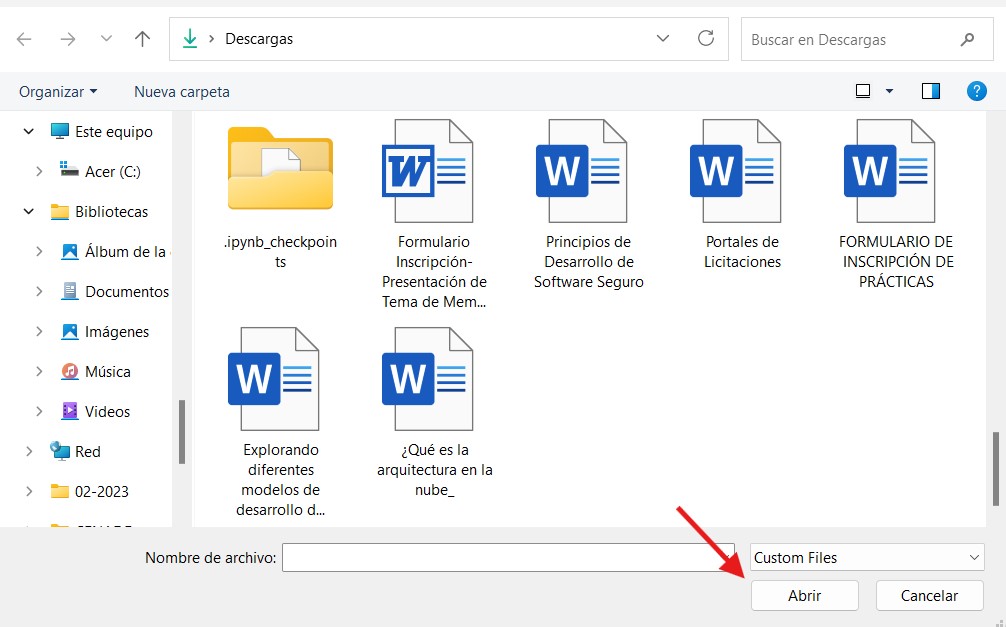
Once in the Smart Document editor, you can quickly bring in content by clicking the Import from DOCX button, this allows you to upload an existing Word file and automatically populate the content section of your smart document.
Select a Word file to import #
After clicking Import from DOCX , a file explorer window will open—navigate to the folder where your Word document is stored, select the desired .docxfile, and click the Open button to upload its contents into the Smart Document editor.
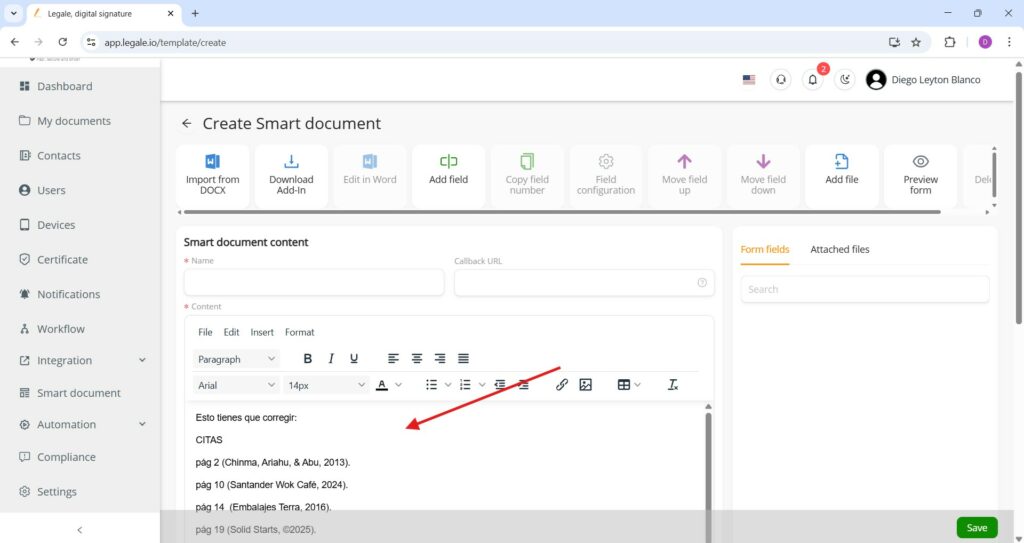
Imported content appears in editor #
After selecting and uploading your .docxfile, its content will automatically populate the Content section of the Smart Document editor, allowing you to review, edit, and format the text directly before continuing with form field configuration or saving.
Create content manually in the editor #
Alternatively, instead of importing a file, you can manually create your Smart Document by typing or pasting text directly into the content editor, using the built-in formatting tools (bold, alignment, tables, links, images, etc.) to structure your content just as needed before saving the template.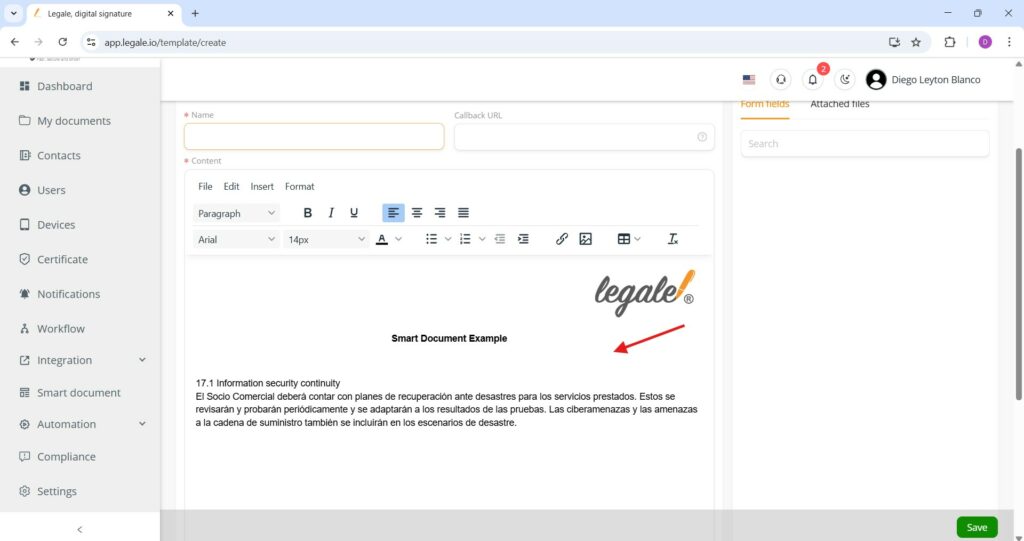
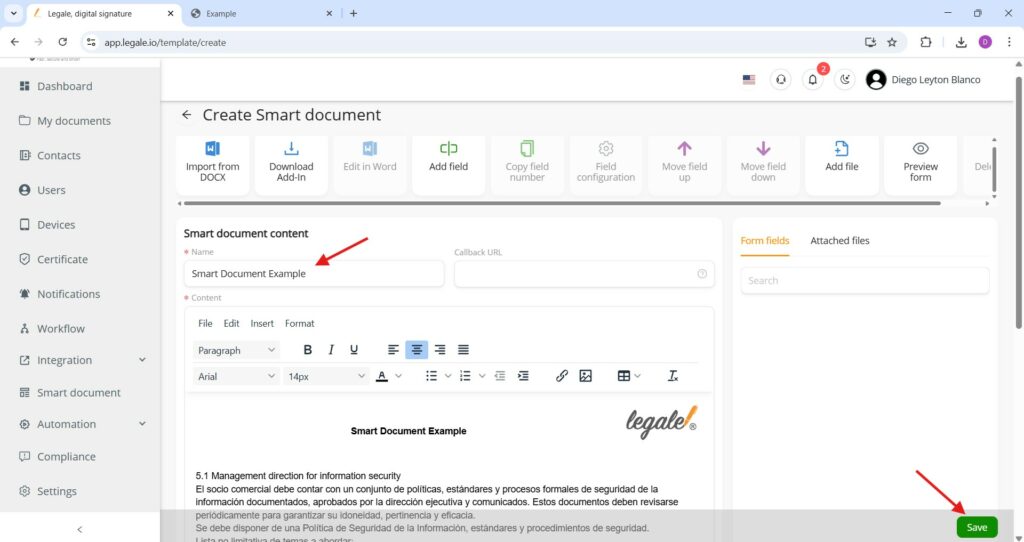
Name and save your Smart Document #
Once your content is ready—whether imported or manually written—enter a title in the Name field at the top of the editor, then click the green Save button at the bottom-right corner to store your Smart Document as a reusable template.
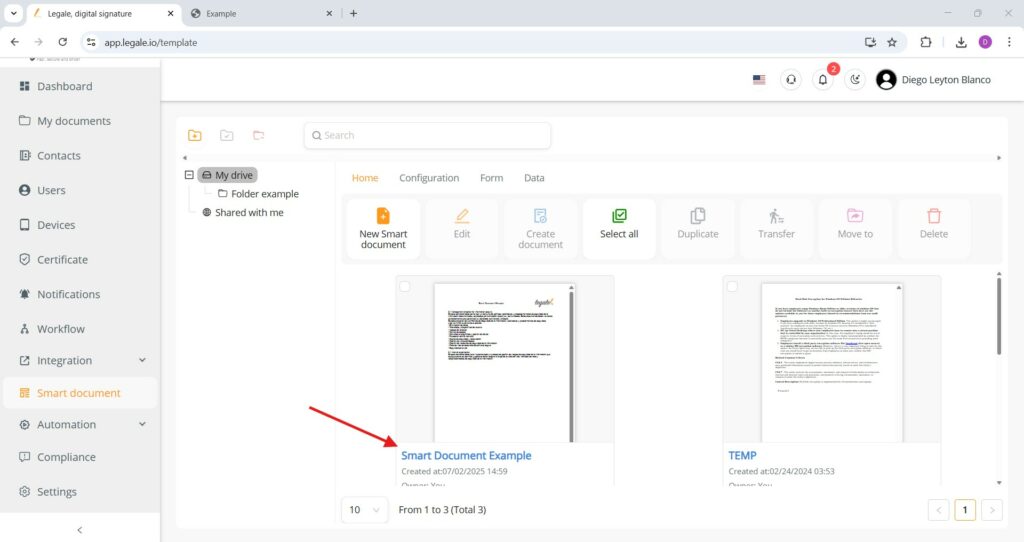
Smart Document saved and listed #
After saving, your Smart Document will appear in the Home tab of the Smart document section, listed under your drive with its assigned name.