Variable fields per client are key elements for document personalization. By creating variable fields specific to each customer, you can automatically insert unique information, such as names, addresses, or contact details, into your documents. This will allow you to generate personalized documents efficiently.
In this documentation, we’ll walk you through the process of creating unique variable fields for each client and how to incorporate them into your templates. This feature will allow you to adapt your documents to the individual needs of each client, providing a personalized and professional experience.
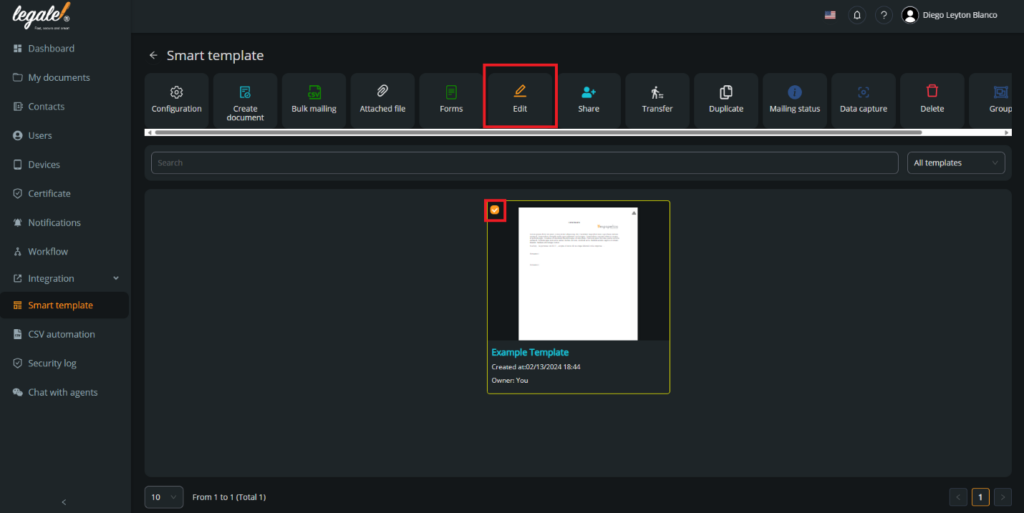
Choose the template: You need to select the template and press “Edit“.
You can see how to create a template in Creating a basic template(*) – legale.io
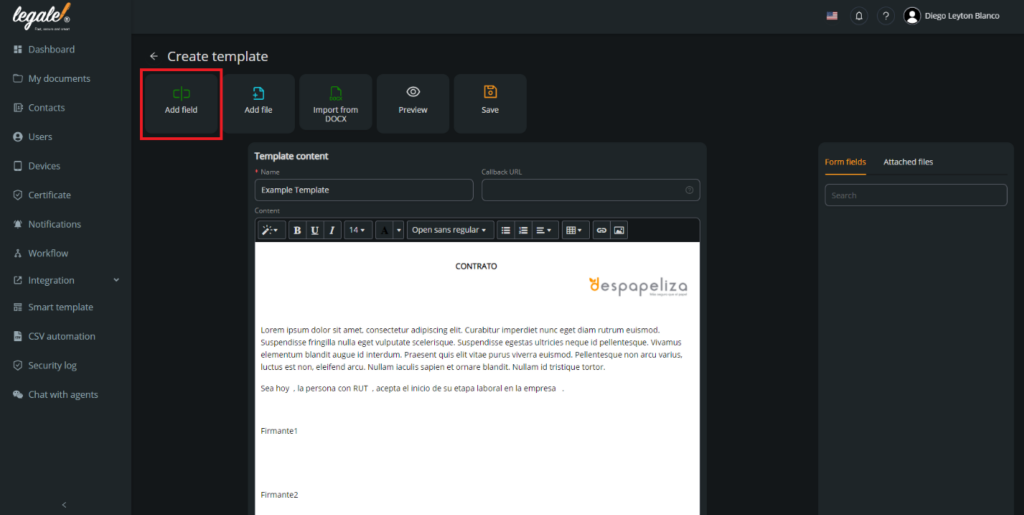
Add field: Press “Add field” is you want to start to insert variable fields to your template.
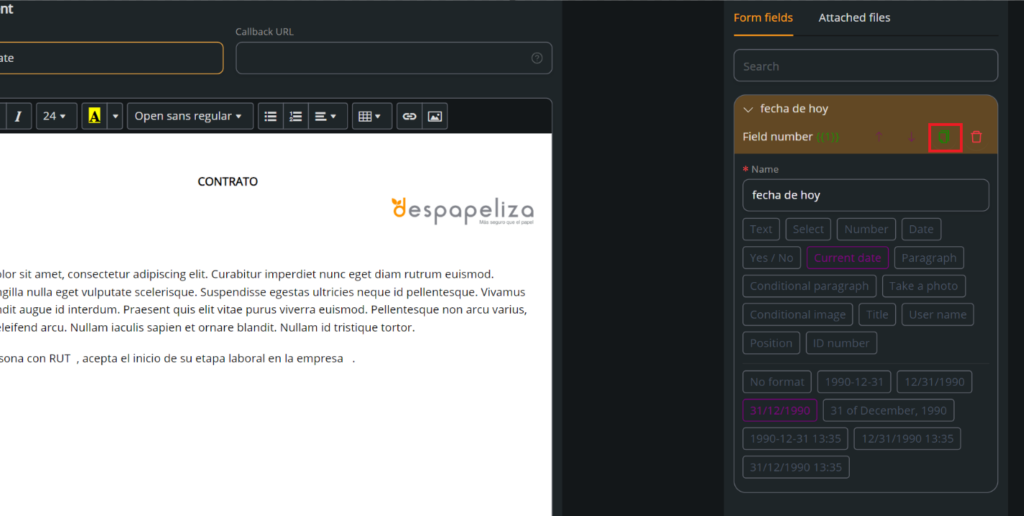
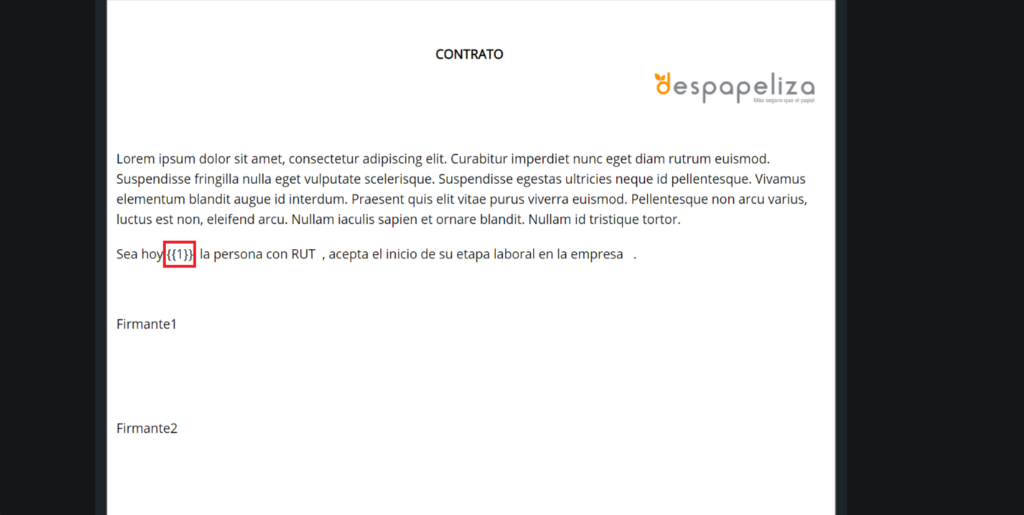
Adding one by one: In the right sidebar you will see the fields settings. First, you need to name the field. In this case, we will insert the date, so we need to choose the type of variable at first. If we want to insert a date we need to choose “Current date“. Then, the format of the date (31/12/1990 for this example). Your field number will appear {{1}}, you can copy and paste wherever you want in the document.
Insert the variable: After you choose where you wanted to put the field, you will see the field number {{1}} in the text.
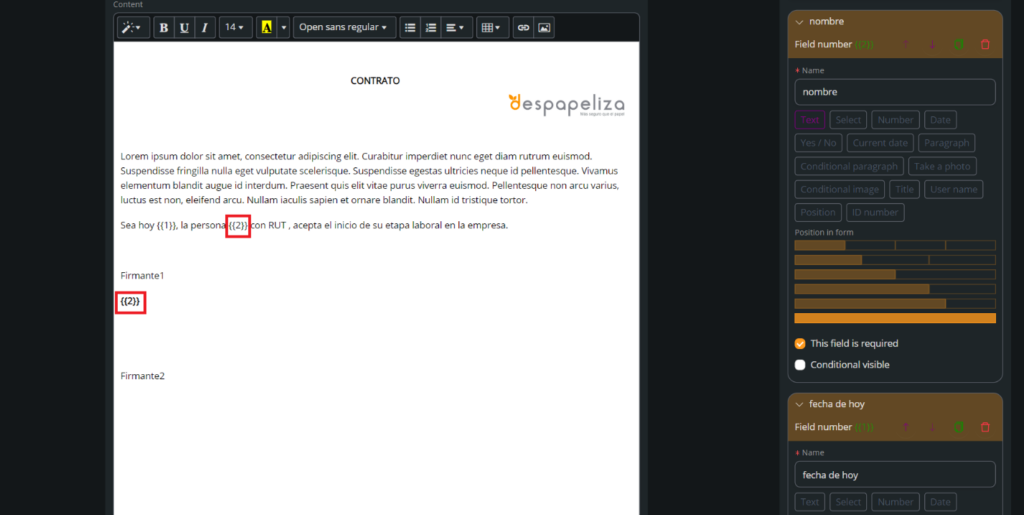
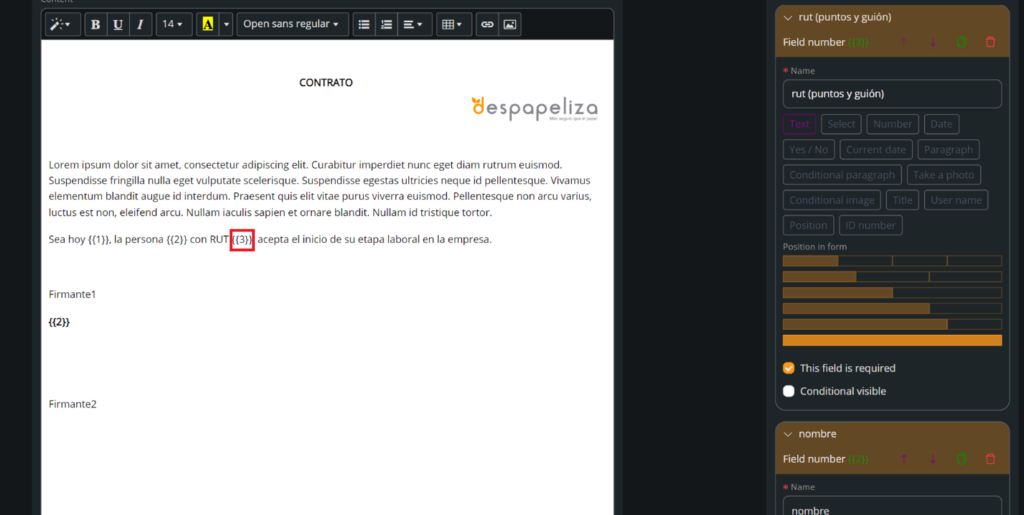
Twice and bold variables: You can keep creating variables following the past steps (add field). In this case, we will insert a field with the name and ID of the signer. After you put a name to the field and choose the format (“Text“), you must the field number {{2}} inside the text. But, you can add the field number multiple times inside the document and also insert it as a bold variable.
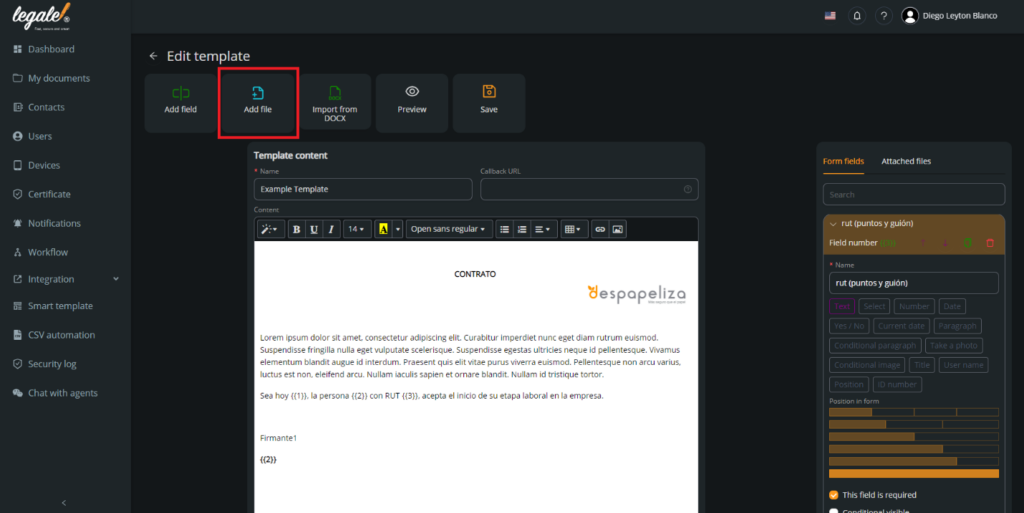
Add file: Apart from adding variable fields, we can require a file like the birth certificate, ID photocopy or more in the moment of the signer wants to sign the document.
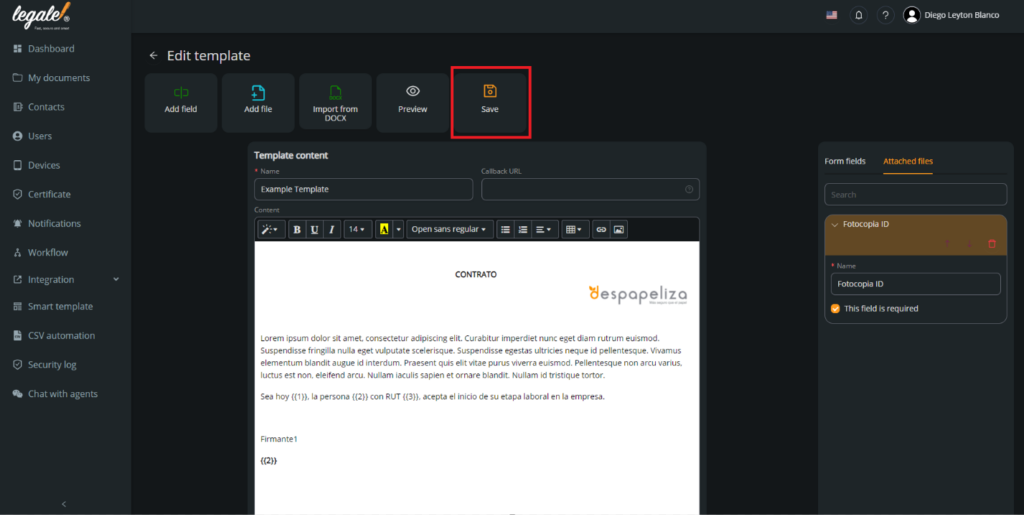
Signer space: Last step is to keep space to the signer to put the sign, and remember you need to have an anchor in the document where the signer will sign. In this case is “Firmante1” and “Firmante2“. Press “Save” to save the changes on your template.
